Click HERE to order Graffiti Quilting Volume Two!!!
Hello Quilting Buddies-
I thought it would be fun to give you a little taste of what Graffiti Quilting is all about! You can follow along with this tutorial with your quilting machine, do free-motion quilting on your domestic machine, or even just draw along with a pen and paper! If you’d like the full scoop on my Graffiti Quilting technique, be sure to order a copy of the book here!
Welp, lets get started…
Graffiti Quilting combines all your favorite quilting motifs and absolutely none of the planning that you’d normally do when starting to quilt your quilt top. Okay, Maybe a little planning, but not much. Graffiti Quilting is a great opportunity for you to give yourself permission to let go of inhibitions. So kiss the quilt police goodbye, and say hello to living free and letting your creative juices flow!
Now, let’s talk technical for a second. Technically, Graffiti Quilting is the act of taking many different elements and motifs and smashing them all together into one quilt. Each element builds off the last, and is whimsically thrown in without pre-meditation. As you practice it in your quilting, it is equally important to practice it in your sketchbook.
First, lets talk about some of the popular designs and motifs found in Graffiti Quilting. As we go through them, I am sure that you’ll recognize a few that are used time and time again in both traditional and well as modern quilts alike.
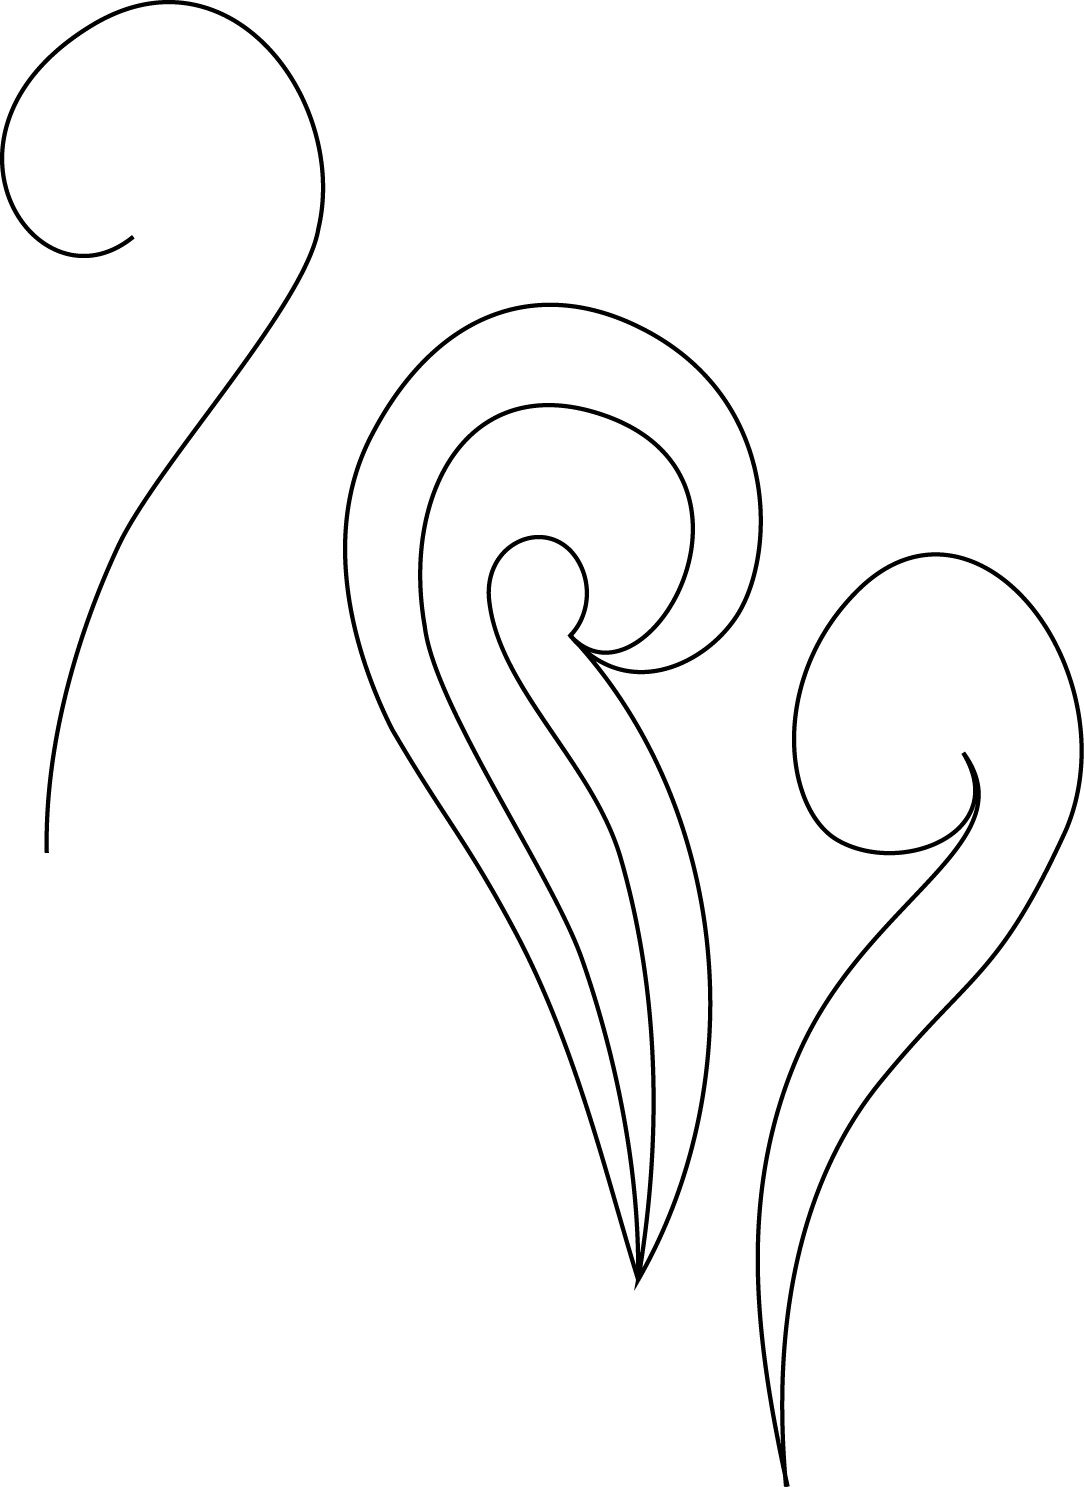
Curls
I really like using curls because they provide a great base to add other elements on top of, like feather plumes or flower petals.
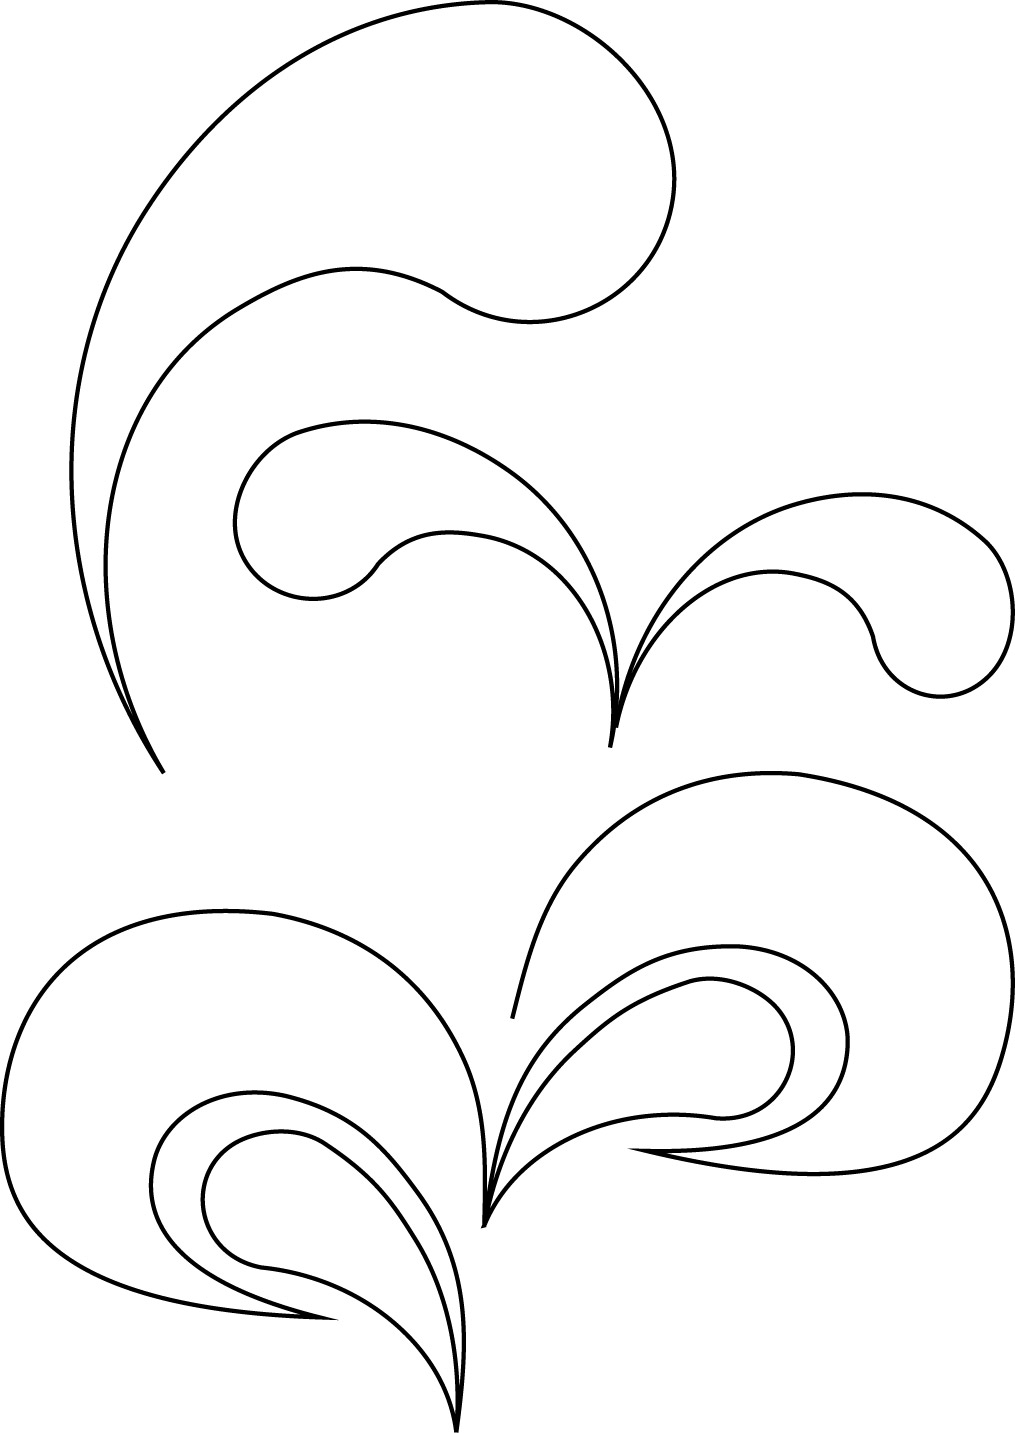
Feather Plumes
Let’s be honest, we have all seen feathers over and over again, with good reason; they are beautiful!
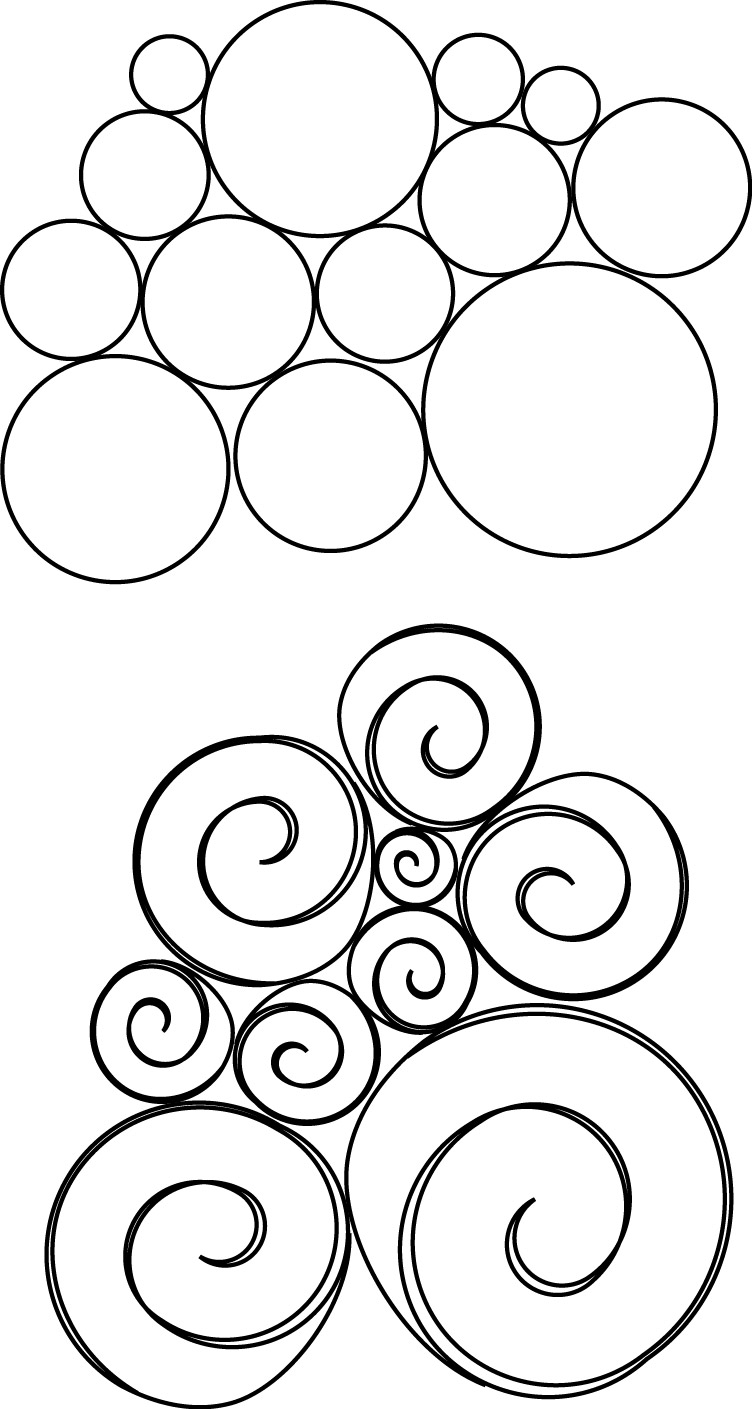
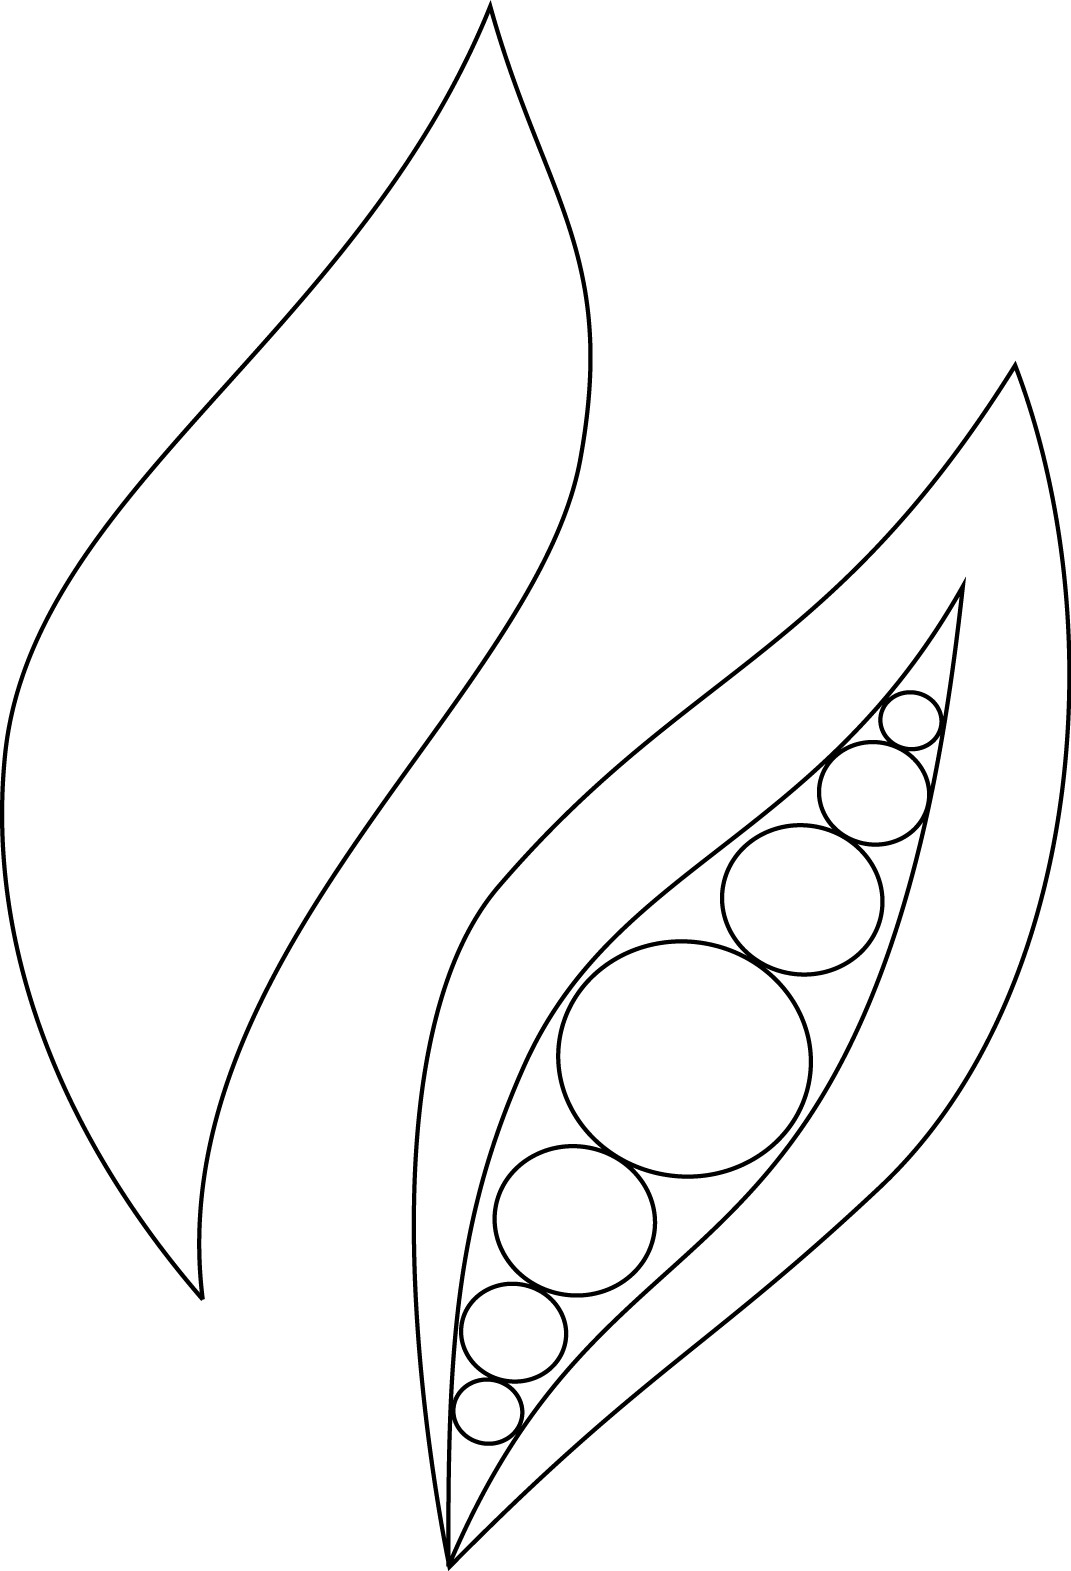
Pebbles
I love pebbles!!! They are super cute, versatile, and quite obedient. In Graffiti Quilting, you often get some very awkward spaces to fill, and pebbles fill them in perfectly.
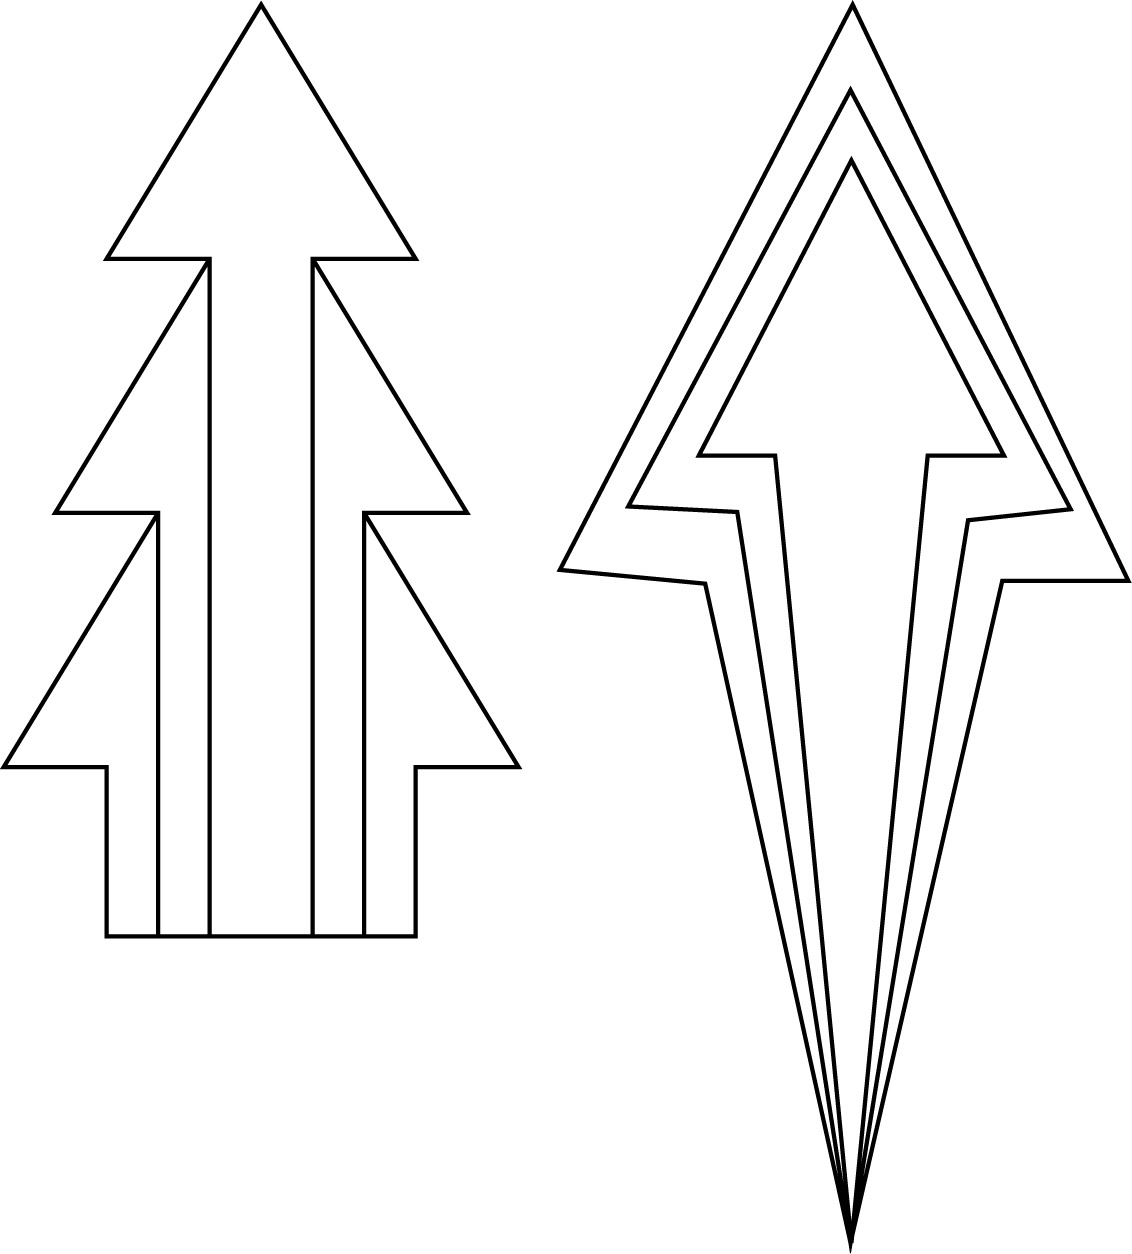
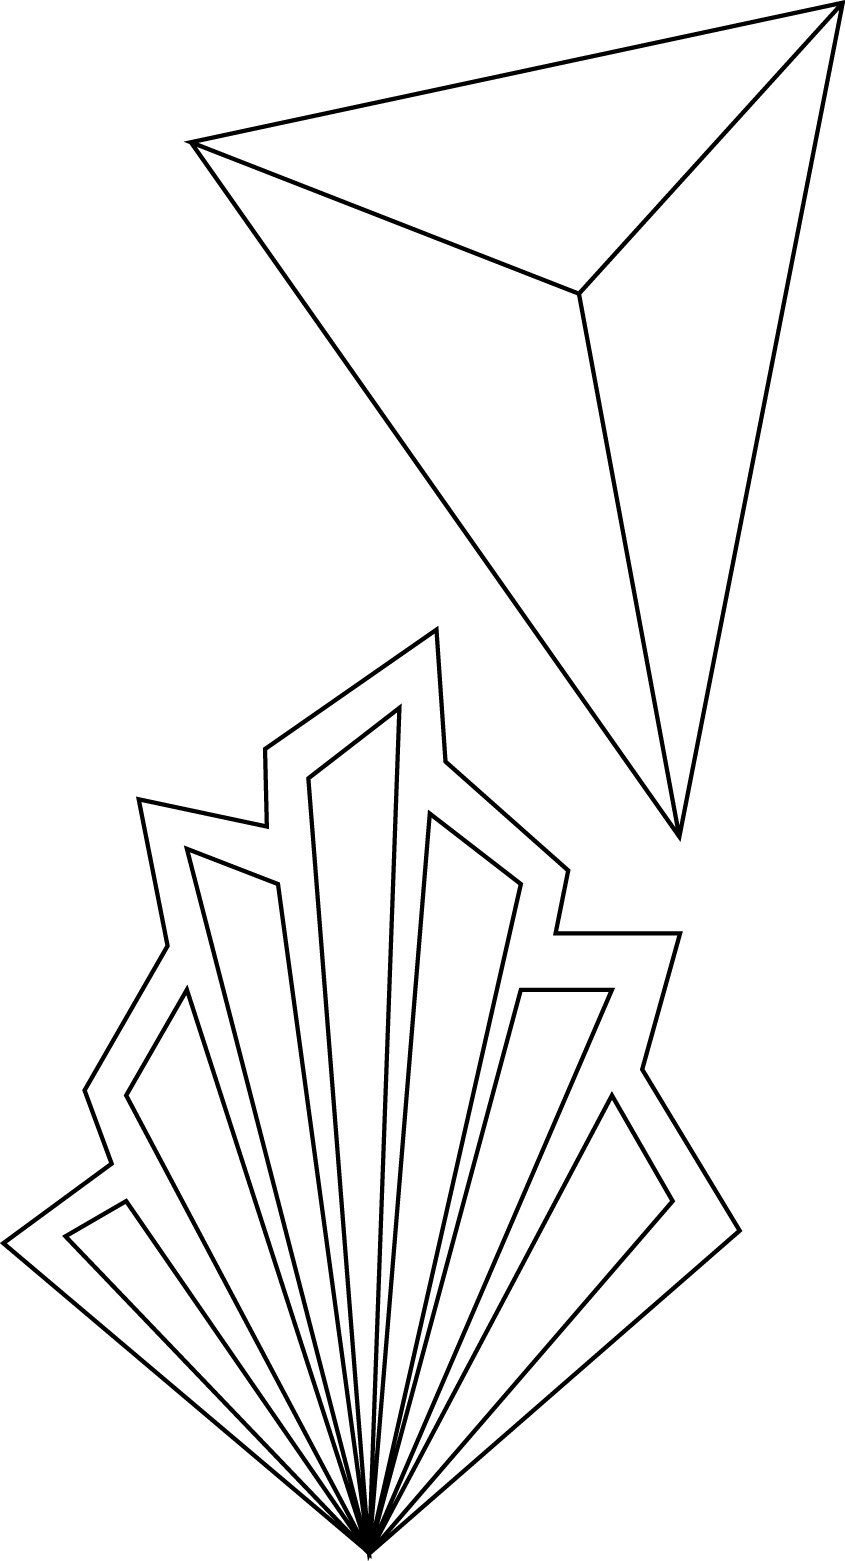
Arrows
Arrows are definitely the signature design in the Graffiti Quilting Style. When I was pioneering this technique, so much of it was literally inspired by street art and arrows are iconic in that realm. You can do these completely straight or sharp, or make ’em curvy and organic.
Flower Petals
Now, flower petals are quite the crowd-pleaser. The other nice thing about them is they are quite versatile as well. Once you master the overall shape of the flower petal, you can fill it in with so many different fillers, and echo it in so many different formations.
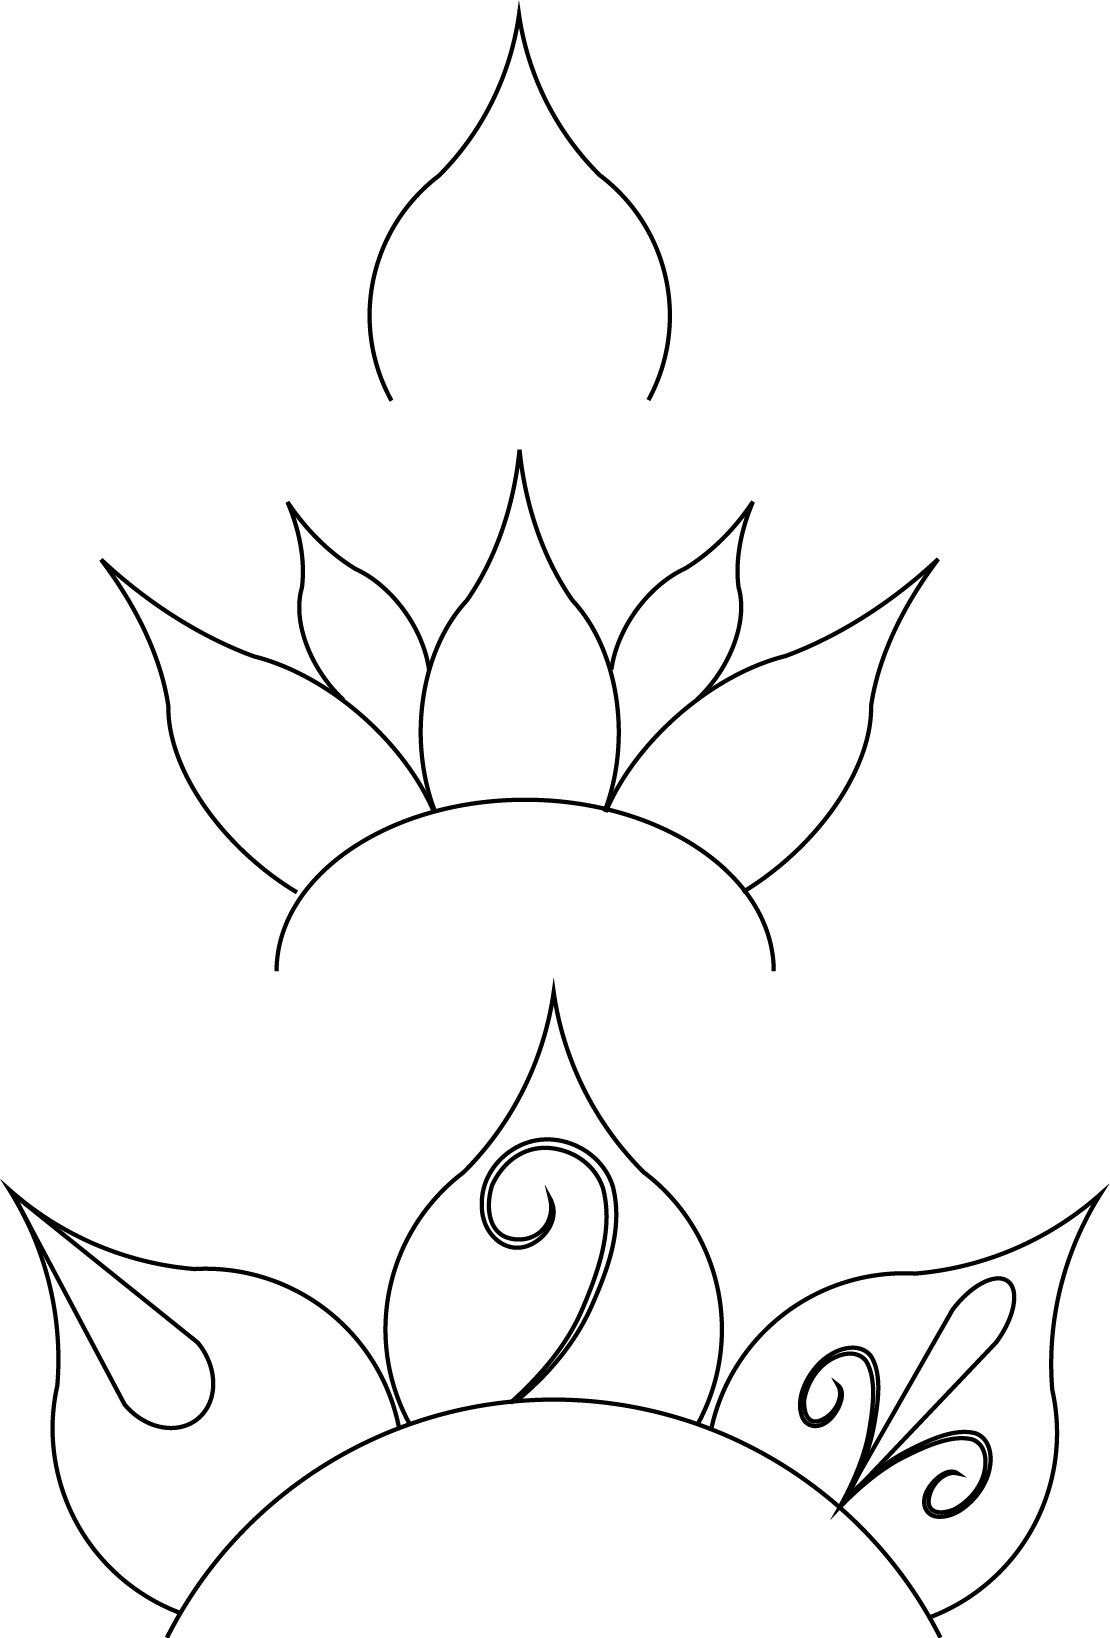
Leaves
While flower petals are very feminine, leaves are a great alternative to still giving you quilt an organic and natural look without being quite as girly. Yet, they still give those nice curves that are so aesthetically pleasing.
Angles
When I say angles I am talking about squares and rectangles. Using angles will do wonders for your Graffiti Quilting. It adds that urban edge that you don’t often find in traditional quilting.
Now that we have talked about some of the shapes, let’s start talking about how we can combine some of the elements together to make a cohesive cluster of designs. Remember- this technique can be done on any machine that allows free-motion quilting, not just longarm machines, but domestic machines as well. If you are using a domestic sewing machine, you can do free-motion quilting if you can drop (or disengage) the feed dogs on your machine. If you don’t know how to do this, contact your machine’s manufacturer for more information.
Where do we begin?
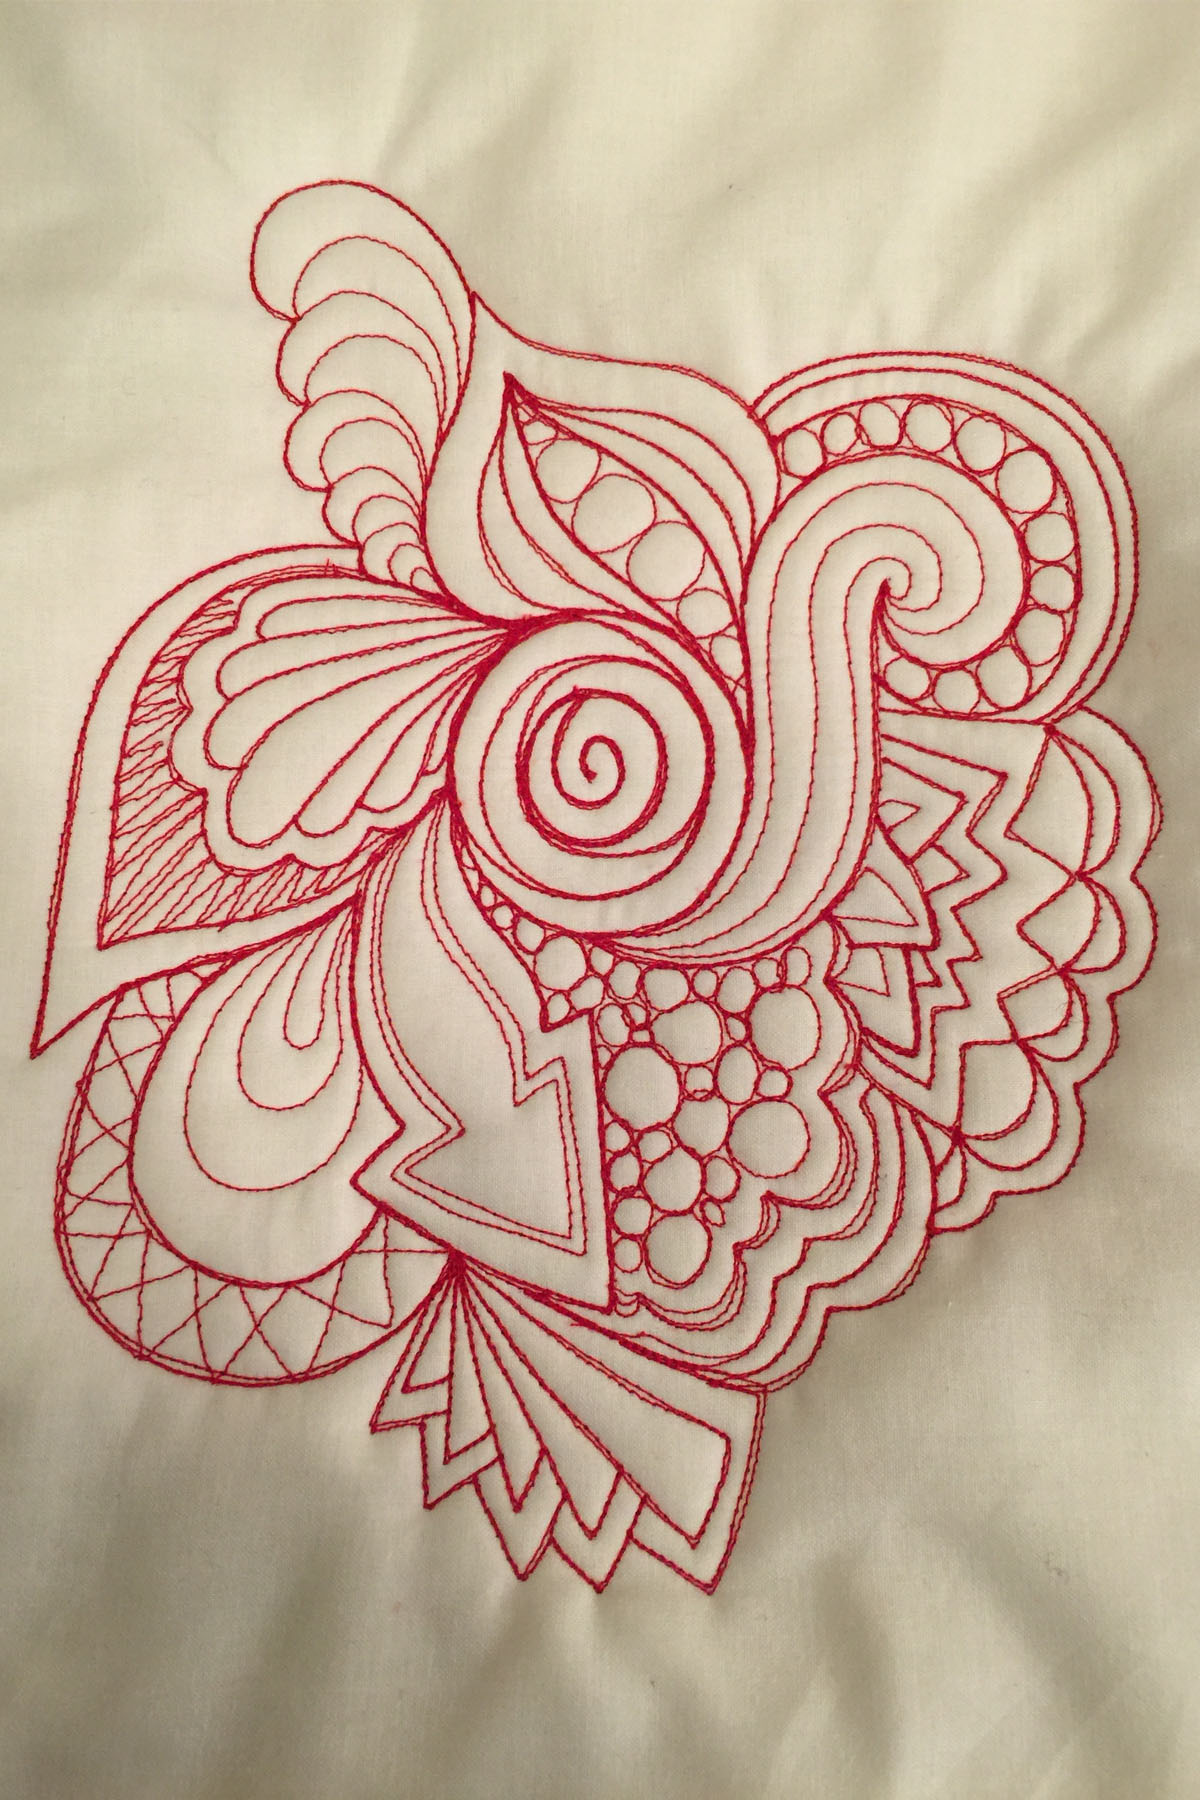
I always like to track my practice in my sketchbook. This means as I am developing or practicing new designs that I come up with, I don’t want to ruin my nice fabric with something that experimental. So my sketchbook is my practice space. Here are some of my personal drawings:
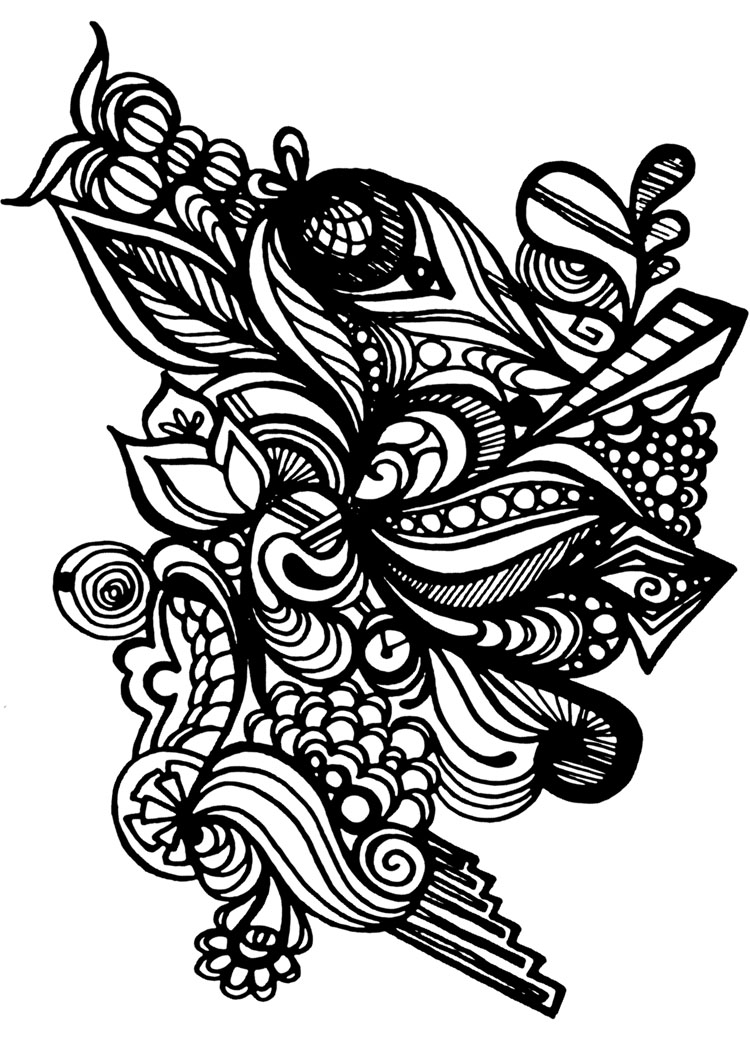


If you are having trouble coming up with your own combinations, try copying mine. You’ll find that you will want to stray from what I have drawn fairly quickly. This is good! Let your imagination flow!
Now, in the above pictures, you can see that some lines are drawn thicker and more dense than others. I am sure you are thinking,
“But Karlee! How the crap am I supposed to make my thread thicker or thinner as I quilt?? You are delusional!”
That is a great observation to point out. The way that those thick lines are translated into quilting is by OVERSTITCHING.
*Hint* If you haven’t figured it out by now, I just want to point out that overstitching is a HUGE proponent to achieving the Graffiti Quilting style.
I know that overstitching is a bad word to some quilters. But not to me. Overstitching allows you to add such contrast to different areas of your quilting, and you can really trick the viewers eyes into look at whatever part of the quilt your heart desires. Besides, at the end of your day, its your quilt! And you are the boss of your own quilts.
Now let’s actually do some quilting using the information we have covered so far.
If you are on a stand-up quilting machine, load your fabric and batting just like normal.
If you are on a sit-down machine or domestic sewing machine, make a quilt sandwich (top, batting, backing). Baste your sandwich in whatever way you prefer.
Batting
If I am planning to make this piece into a wall-hanging, I like to use 2 layers of batting. It helps the quilt stay stiff and lay flat, with such dense quilting. But that’s just me…

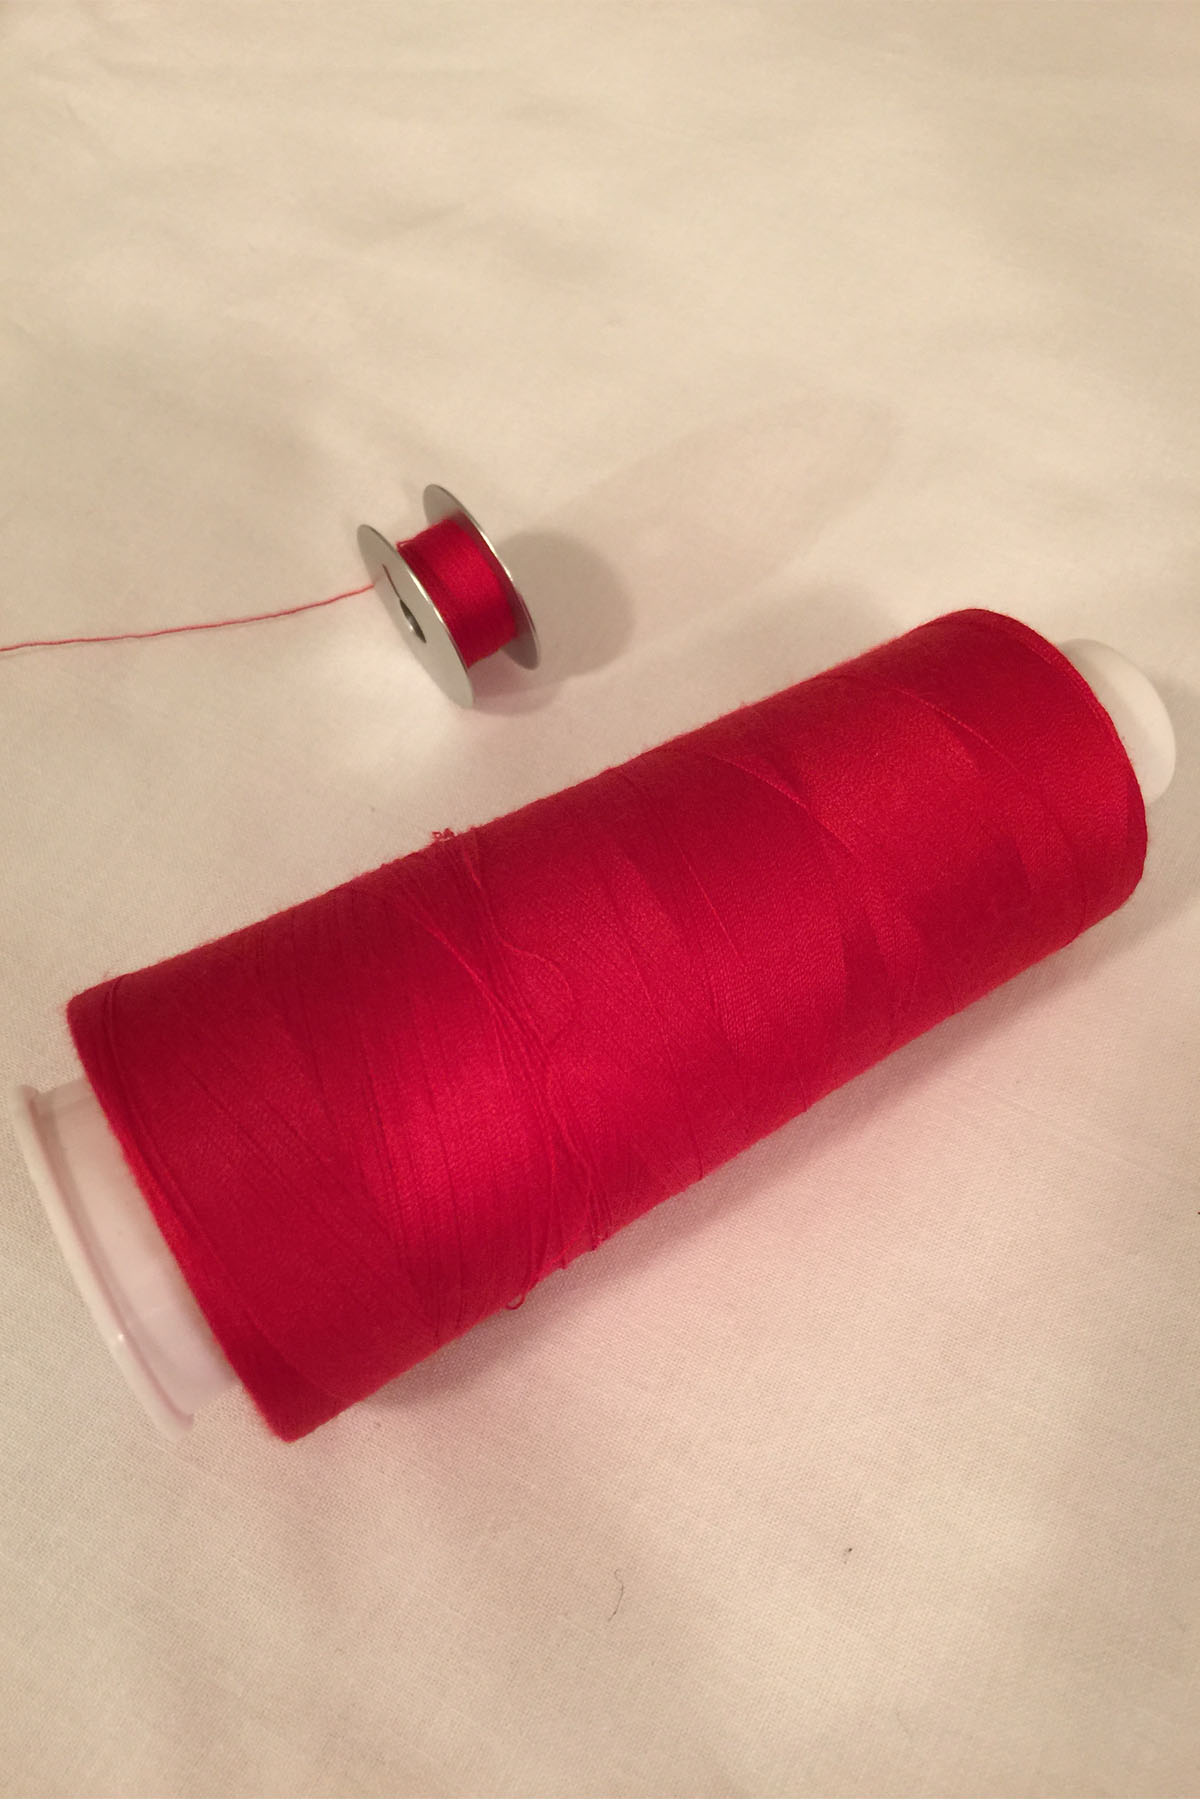
Thread
People always ask me specifically what brand of thread I use. Honestly, I am not a brand snob, and I will use whatever seems to work at the time. The one word of recommendation I have with thread is that I like to use thread that is a 40wt or thicker. This allows me to get really nice thick lines, especially when overstitching, but 40wt still isn’t too large to wind in my bobbin.
For this tutorial, I used my Sweet 16 sit-down quilting machine. Whenever I am Graffiti Quilting on a sit-down machine model, I tend to start in the center of my quilt and work my way to the edges.
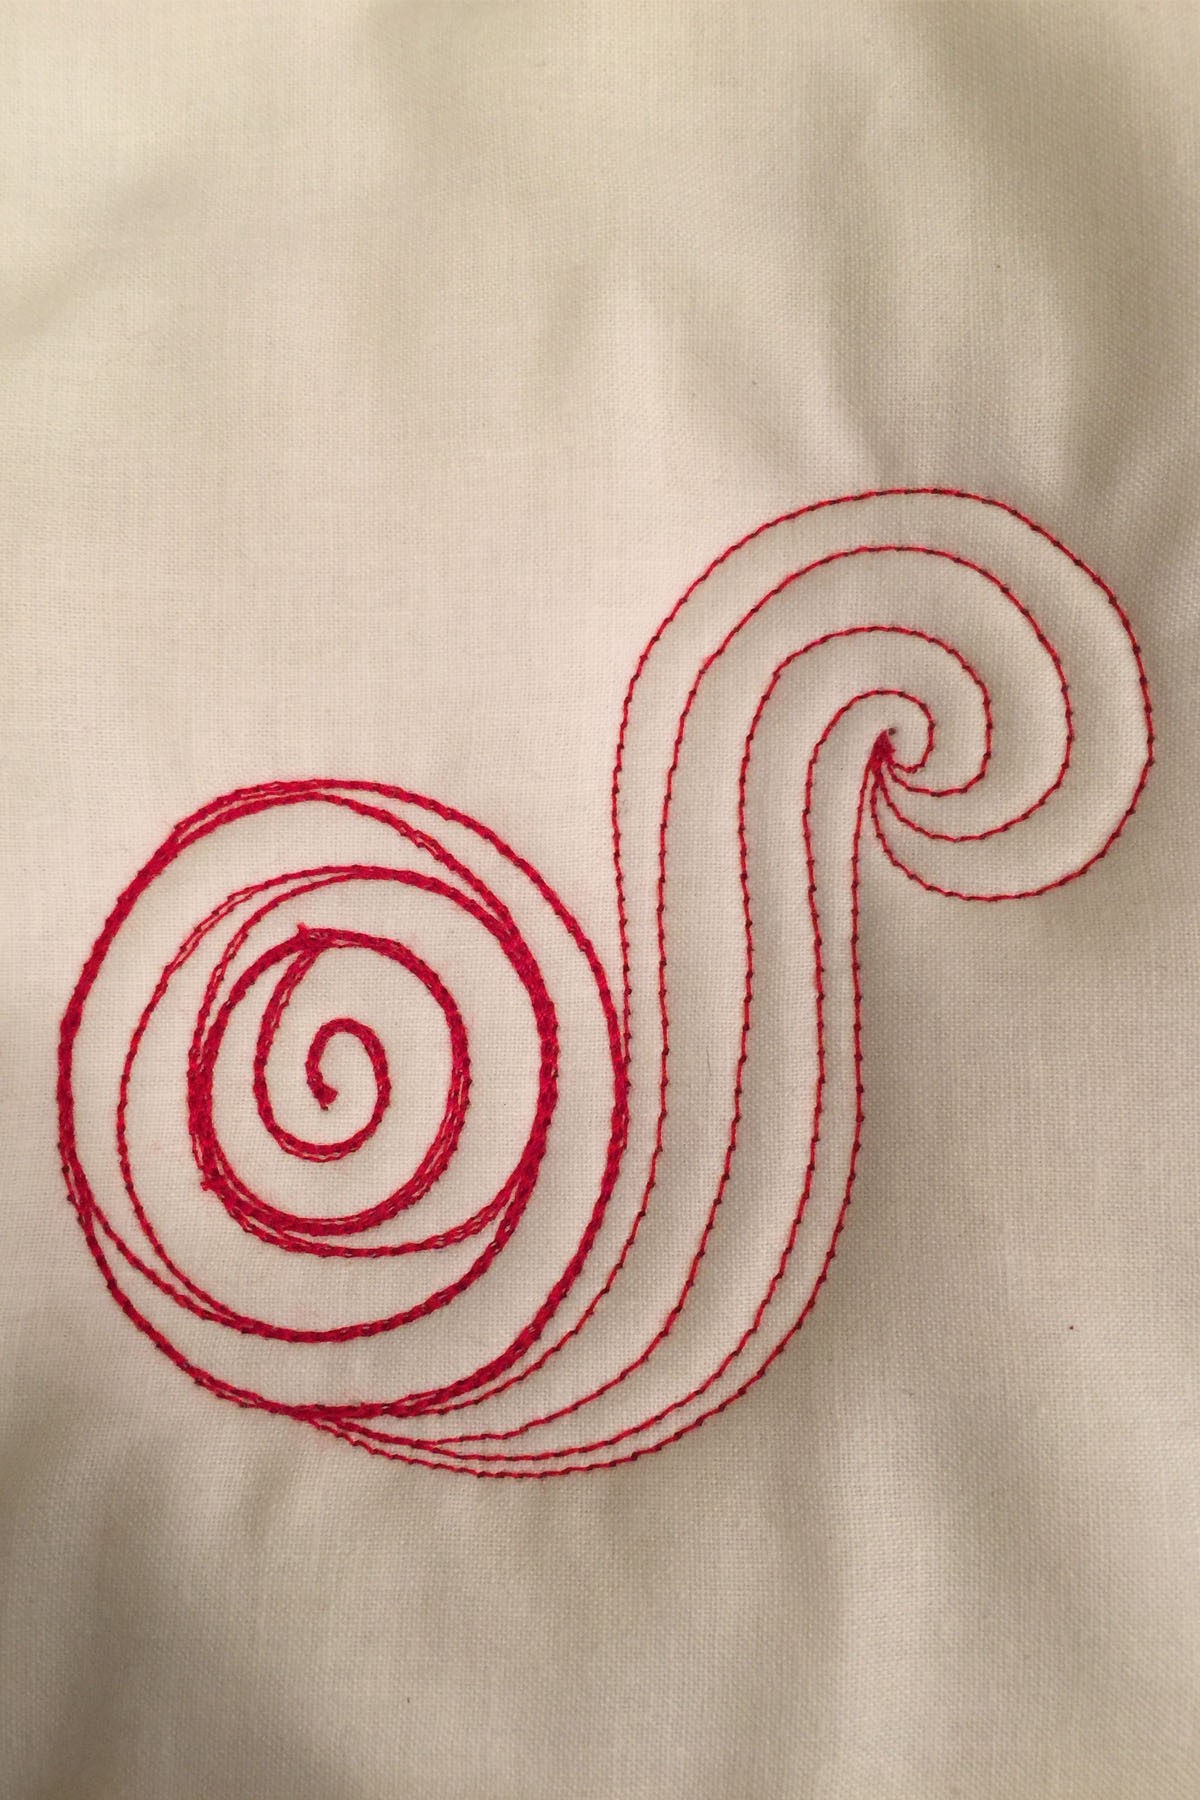
In this case, I quilted a circle about the size of a 50cent piece, and put a curl inside of that circle.
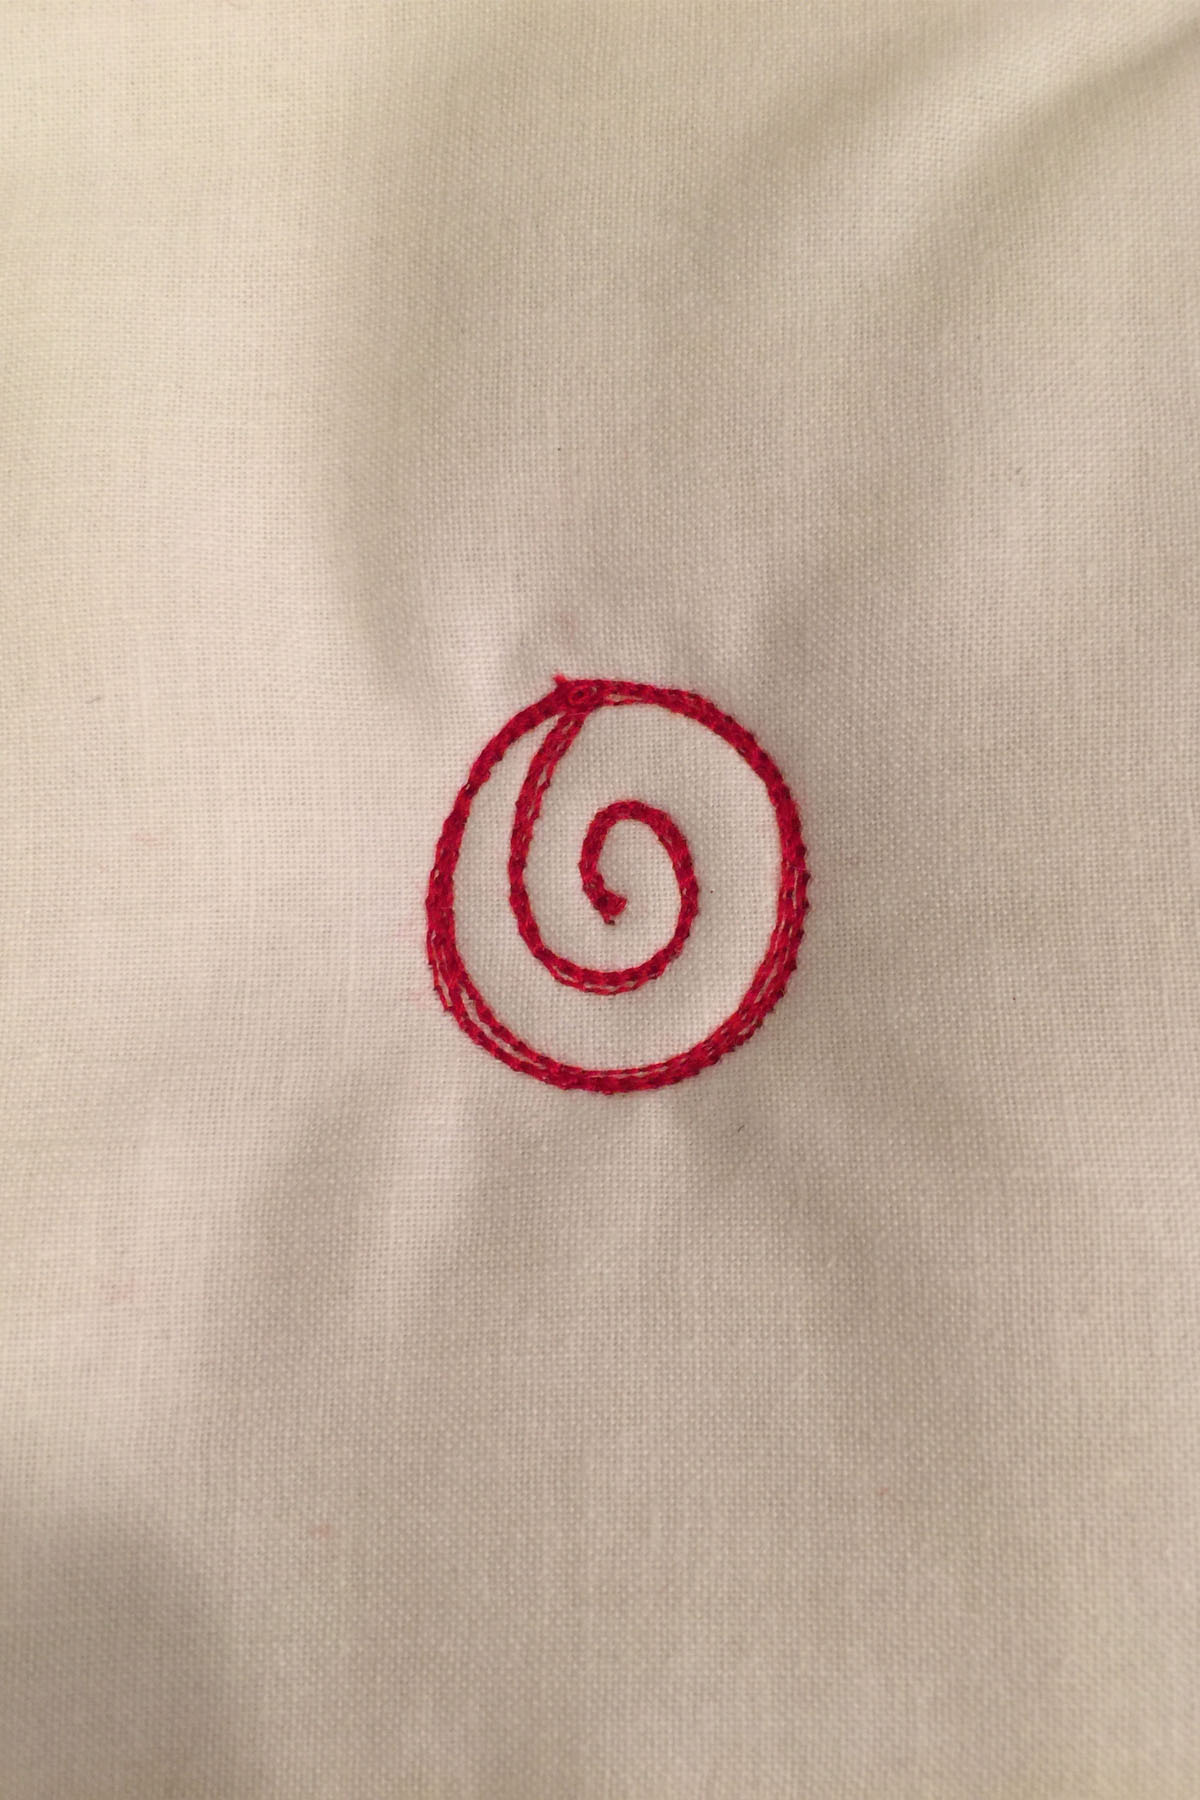
From here, I want to add a little more depth to that circle so that as I add designs around it later, it will just have a little bit of space to breathe.
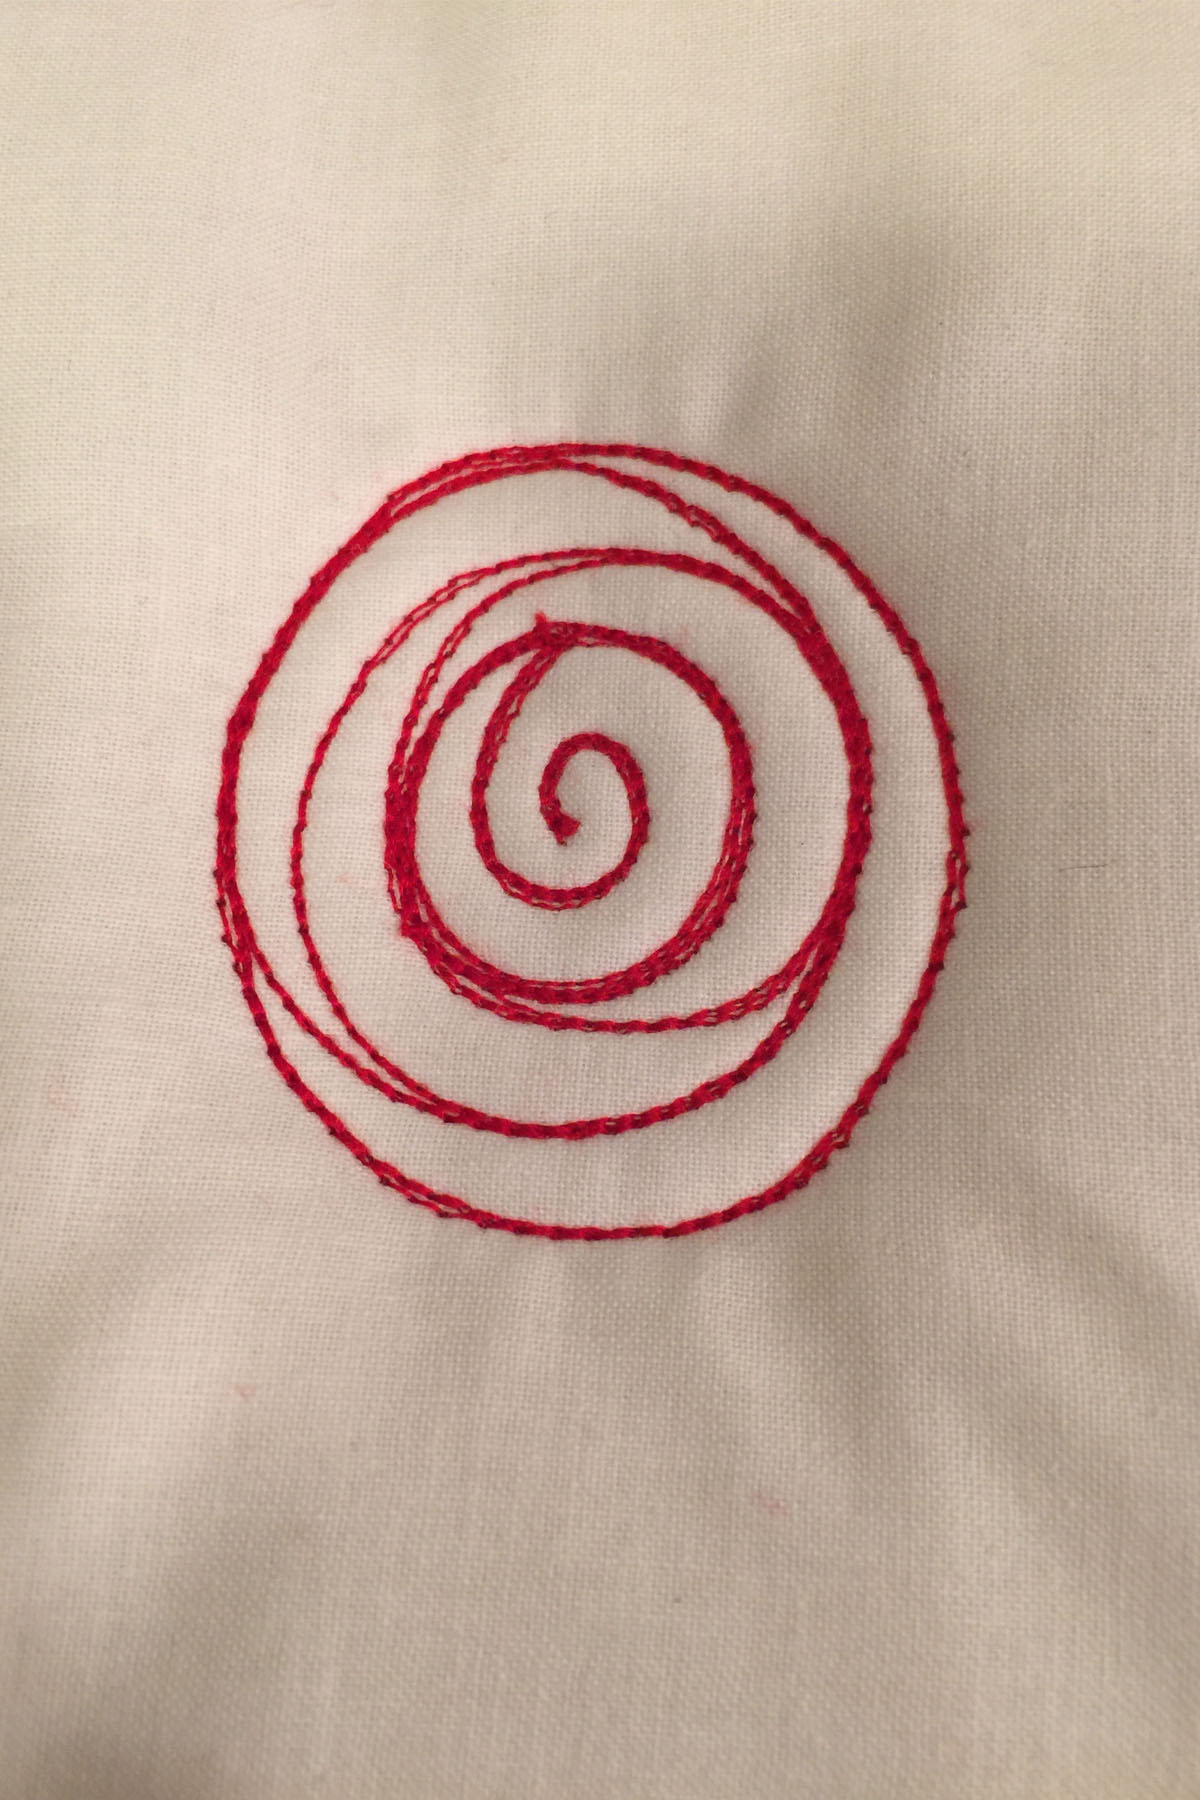
Now, because my center design is circular, I am going to try and make the overall flow of my quilt circular, almost like a tornado or a toilet flushing. So now I am going to start adding elements onto my circle, starting with that famous “Karlee Curl”.
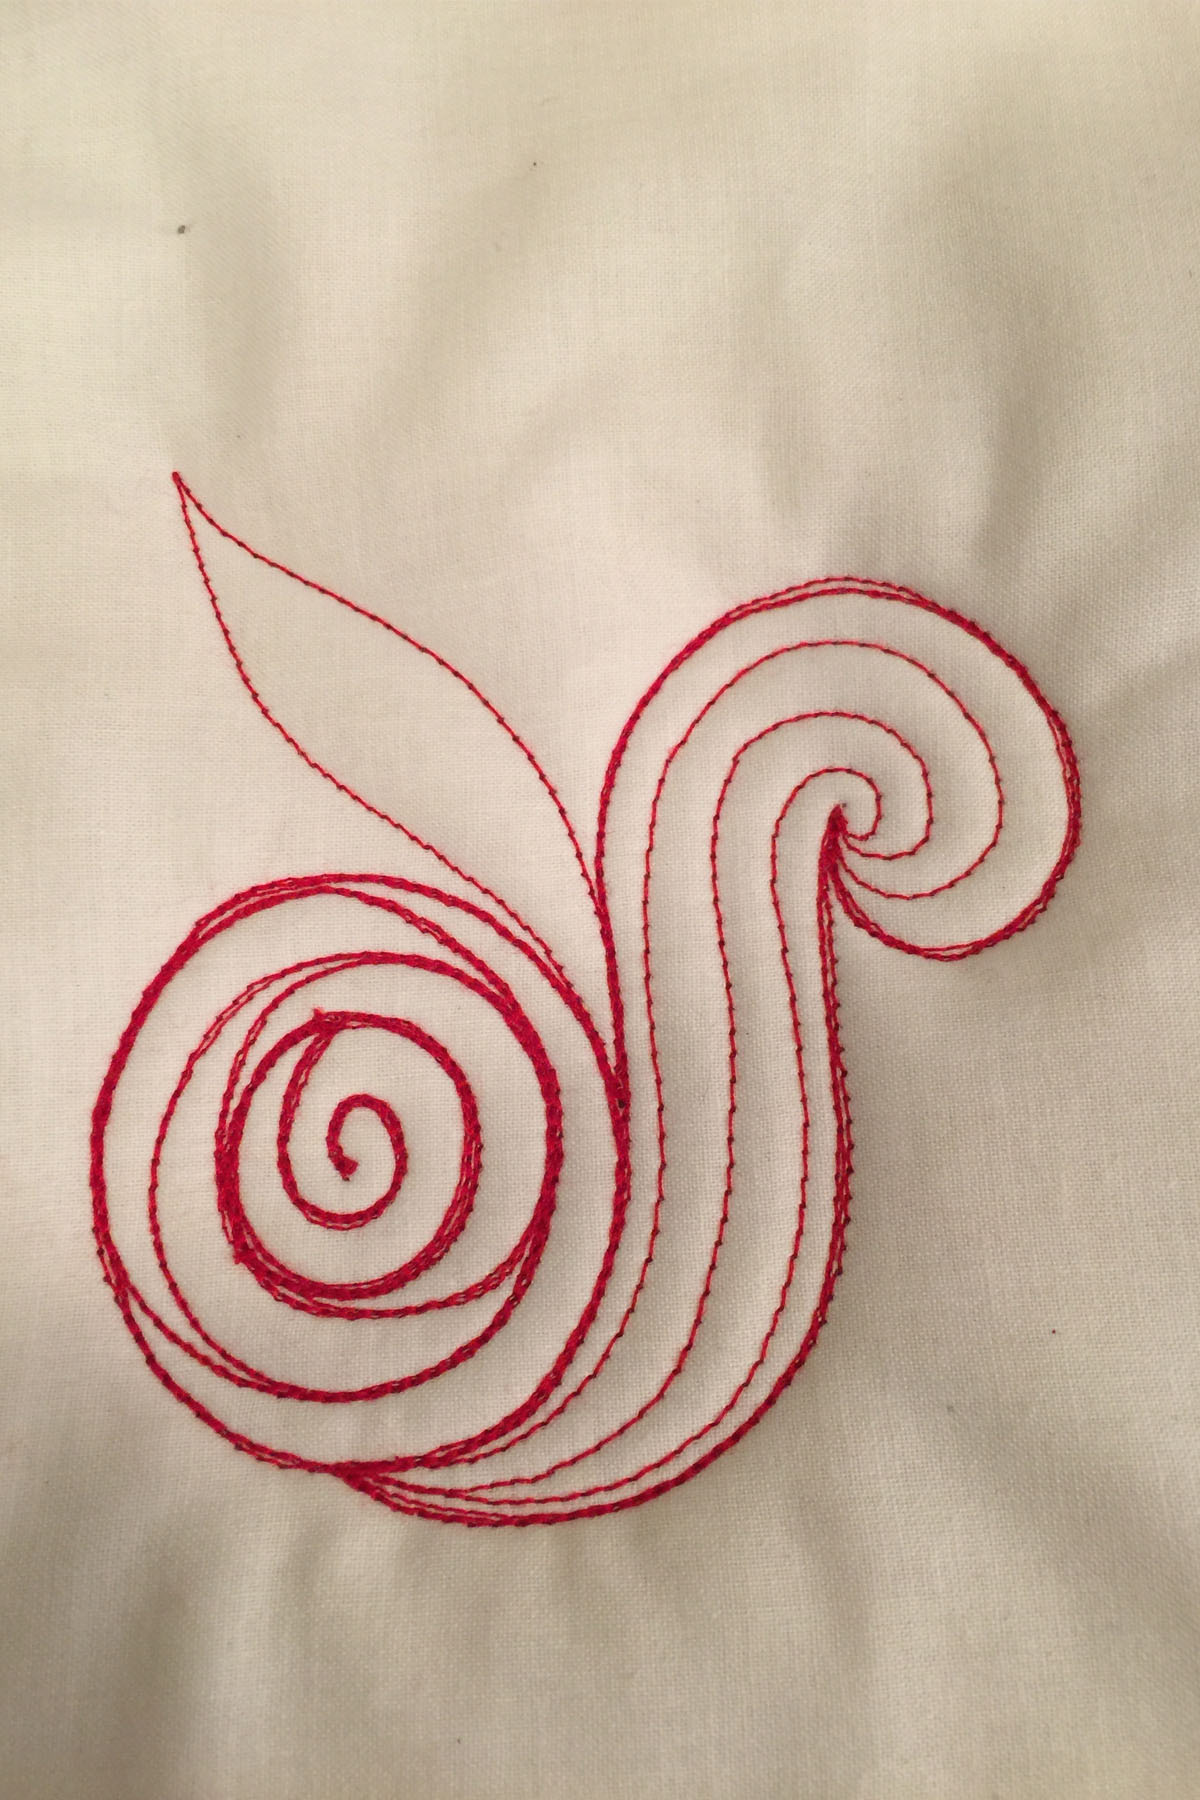
Int he following image, notice that I have not only added a leaf shape coming from the crack in the two designs, but I have also overstitched the outer line of the curl. I love that doing just one or two extra passes over that line makes it so much darker.
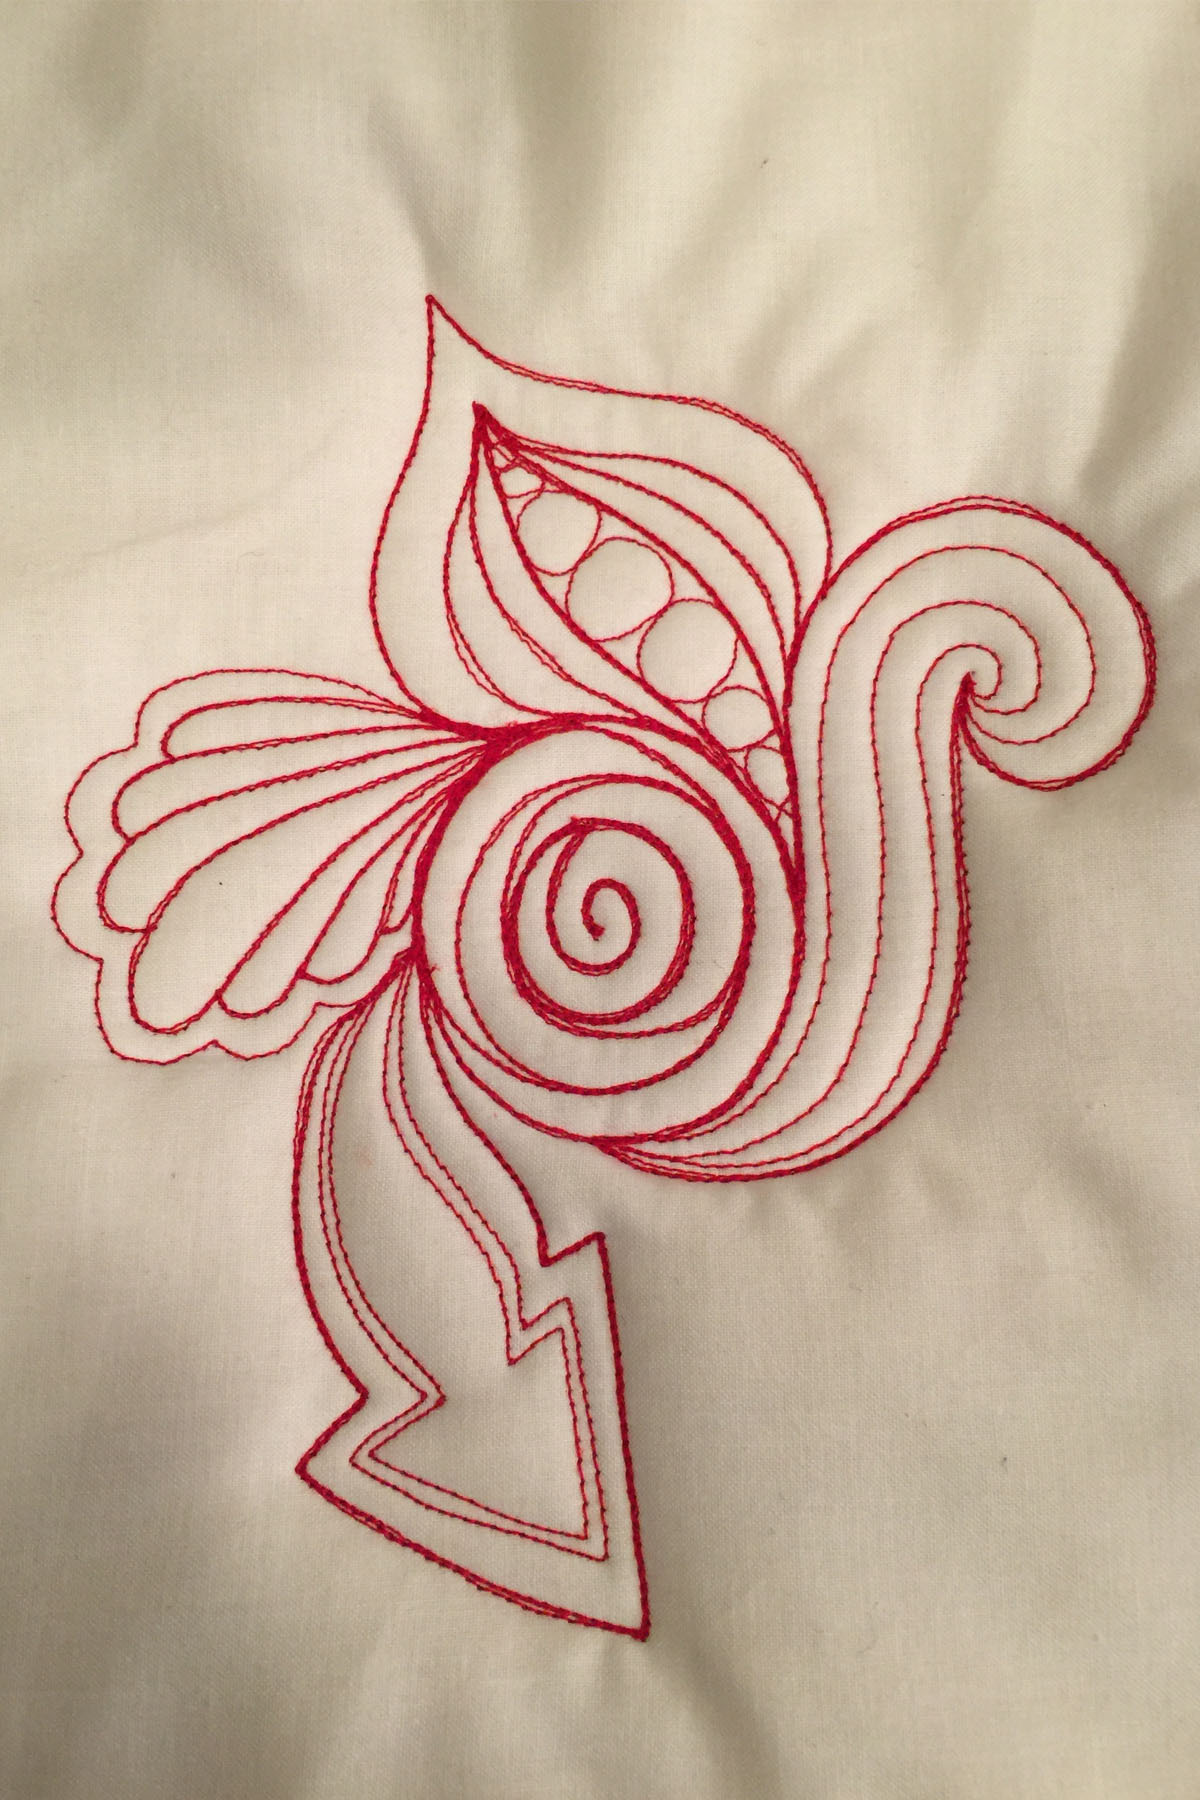
Now I am going to add a few layers to that leaf, and fill in the middle with some pebbles.

Building on from there, I am going to just keep continuing around my center circle adding one design element after another. Can you see how each new element flows in the same general counter-clockwise direction? Making sure each element flows with the next is what gives the quilt it’s overall direction and flow.
In the previous photo, notice that there is somewhat of an awkward space between the arrow I just added and the curl that we added at the beginning. My go-to element for an awkward space is pebbles. Pebbles fit anywhere. It is glorious.
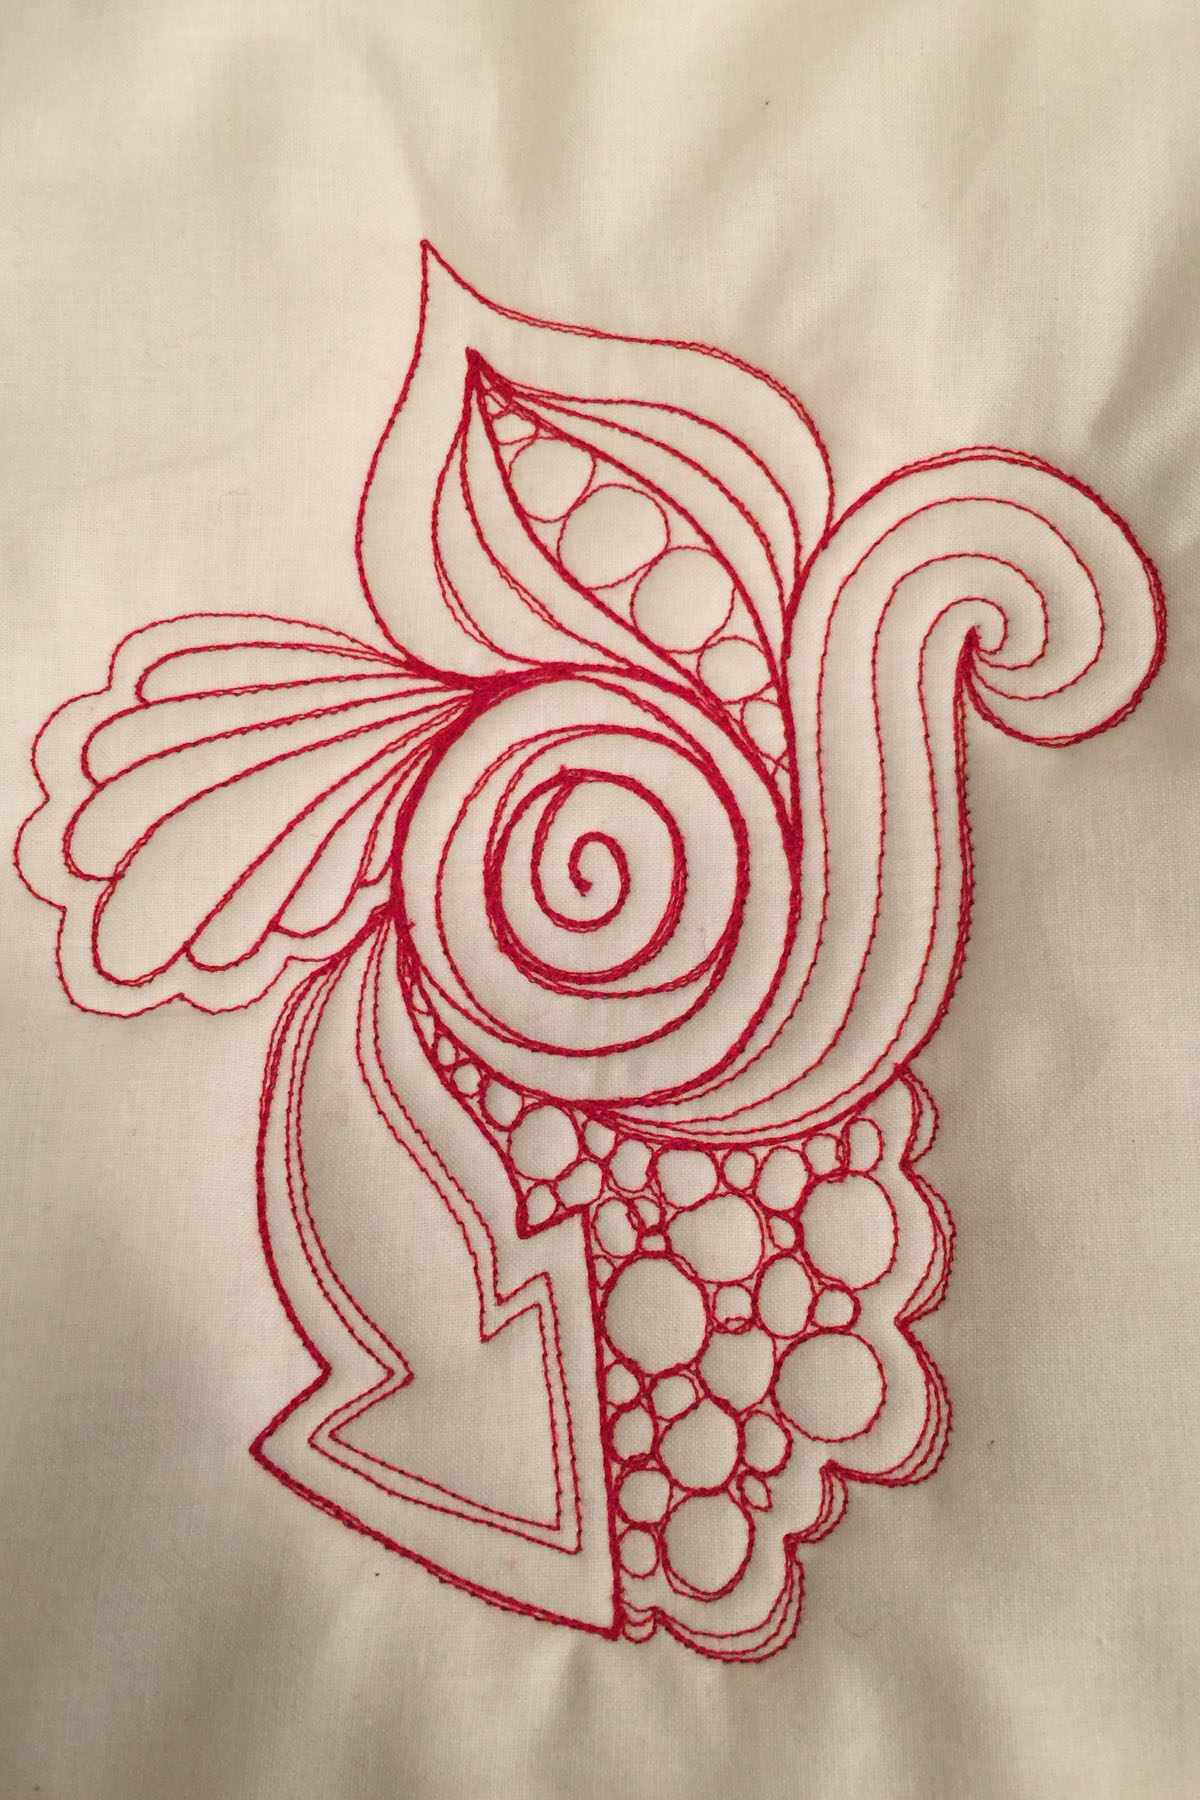
There you have it!
In this final picture, you can see how the flow just kind of keeps going around the circle in the clockwise direction. One major component of Graffiti Quilting is a lack of planning. When I quilted that original circle in the very center of my quilt, I had no idea what elements I was going to add or where I would place them, It is all about living in that little space that I am quilting in that moment. I forget about the past, and I don’t worry about the future. It is all completely spontaneous and it turns out beautiful WAAAAAY more often than not.
Just keep practicing, and never give up! I consider every quilt a practice quilt.
Everyone’s Graffiti Quilting will be as unique as their own handwriting and signature. Get creative with it. Try all your favorite threads, and even try some non-traditional fabrics like satin, canvas, silk, or even leather if your machine is up for the challenge.
The possibilities are endless!
If you enjoyed this tutorial, please consider purchasing a copy of my book, “Graffiti Quilting: A Simple Guide to Complex Designs”.
Thanks again for reading, and leave me a comment below if you have any questions!

99 thoughts on “Graffiti Quilting Crash Course!”
Thank you soooo much. You have simplified it enough, that I feel inspired to try it for myself
Yay! That makes me so happy!
Loved your webinar….just got a LA machine and am starting at square one-you are an inspiration to me. Would like one of those fabric pieces with your design on it for practice but cannot find them on your site….can you let me know how to order one please? Katie
Hi Katie!
Thank you so much for all the kind words! You can find all my custom printed fabric here:
https://www.karleeporter.com/product-category/finished-products/printed-tapestries/
-Karlee
I can’t wait to work with these designs you have given us and get started with graffiti quilting! Thank you!
OMG I think I have found a new quilting NIRVANA!!! I can’t wait to try this method, I’m always stuck for something to quilt and I’m a true rule breaker at heart and this method may be just the quilting ticket for me!!! Thank you for sharing this technique and your encouragement, can’t wait to come back and show what I’ve done
Hi Janelle!
Yay! I am so happy to hear that! 🙂 You ought to check out my Online Master Classes:
https://www.karleeporter.com/product-category/education/
Love your style. Thanks for sharing your unique techniques.
Great ideas! Can’t wait to try some.
Anazing work. It looks so complicated. Wanda
Just love this idea have been practicing alot since i saw this. Im just learning to free motion on a domestic machine and im a bit wobbly but find this so much fun.
Thanks Karlee for the inspiration.
I love this!!! I am a beginner with my new long arm machine, so I am going to try this. Thank you so much for sharing!
You’re very welcome, Sue! If you have any questions, let me know! Do you have a copy of the book? If not, you can pick up a copy here:
http://www.karleeporter.com/shop/books/graffiti-quilting-a-simple-guide-to-complex-designs-volume-two-pre-order/
-Karlee
You are amazing and so inspiring!!
Thank you! That means a lot to me! 🙂
very clear guide lines for graffiti. i will definitely try. you have inspired me. thanks.
I’m glad you enjoyed it 🙂
-Karlee
My daughter showed me a picture of your “Shimmering Symphonies and it just blew me away! I have been quilting for 25 years and I had never seen anything like it and it was gorgeous! She wanted me to make her one like it as she loves music and plays the piano and her son-in-law plays guitar and mandolin! When I found out it was thread art I told her no way! You are very talented and do beautiful work!
Awe Linda!
Thank you so much for all the kind words! You ought to check out this blog post I wrote about that quilt, you still may be able to find something for your daughter to enjoy without having to actually make the quilt! Haha.
https://www.karleeporter.com/2015/11/shimmering-symphony-perfect-for-you/
-Karlee
Thank you so much Karlee. This is a wonderful tutorial and I just need to practice now. Would love to get your book but postage is too expensive to New Zealand so will use you tutorial as my starting point.
Thank you so much.. I had wondered what Graffiti Quilting was.. But after reading your post, I now know what Graffiti Quilting is ..
Thank you once again.. from Vera M.
Thanks for taking the time to read it 🙂
Awesome tutorial. I have your first book and love doodling and quilting with such freedom. I’ve even snuck a little into my fillers for customer quilts.
Thank you! I am so glad you enjoyed it! 🙂
Wow! I love this technique! I am “free motion phobic”, but your graffiti method of quilting seems liberating, without my having to worry about creating a specific all over design. I like the fact that i can create small portions of quilting, then add the next graffiti. I’m purchasing your book!
Thank you so much! Liberating is exactly what I was going for! In a quilting industry that is sometimes so confined by “rules” and do’s and don’t’s, sometimes its nice to just jump out of the box and do something completely different! 🙂
I love your quilting, especially all the color. I’m color blind (deficient in green, in one eye, and deficient in red, in the other) which is a challenge for me. I really like the idea of the graffiti quilting. No one to judge the color changes!!!! 😉
I am so glad that you like it! 🙂 And shoot, even if someone DOES judge the colors you choose, don’t mind them! It’s YOUR quilt. 😛
fabulous tutorial. i cant wait to try it. I am sure i can. Thanks.
Thank you 🙂
Love your style! I ordered Vol 2….can’t wait for it……got my sandwich loaded so I can play :}
Awesome! I hope that you love it! I sure loved writing it 🙂
Karlee – What a fantastic gift that you gave your friend and her husband. It had such feelings and beauty all combined. How did you get the writing on the material? Did you do each sheet at a time and then iron it onto the main piece?
I absolutely love your style of quilting, I am a doodler, always pen and paper in hand. Thank you for your guidance and ideas.
Sue
Hi Susan,
The fabric was designed on a computer and then printed onto the fabric with a large format printer. 🙂
Very informative course. I enjoyed it very much. Thank you. I can’t wait to do it on my sewing machine. Hanlie Durban South Africa.
I am so happy you liked it! 🙂
Wow this is terrific!!!! Practiced on sketch pad going to put together a sandwich and try it out on my machine!!! Thank you!!!
That’s awesome! I am so happy you liked this tutorial 🙂 Happy Quilting!
Wow……always been too nervous to try over quilting, but I think I can try this graffiti quilting. Thank you for such a carefree and enlightening tutorial. I look forward to reading your book.
Thank you!
I am so happy you enjoyed the tutorial. The book has soooo much more! I think you’ll love it! 🙂
brilliant tutorial, so generous, thank you
You’re welcome! I am so glad you enjoyed it! 🙂
Hi Karlee, I’m looking to order one of your books, can you tell me the difference in volume 1 and 2? Thanks
Hi Sheila!
Order Volume 2. Volume 1 was written in fall of 2014, and volume 2 is the updated, more in-depth version of the Graffiti Quilting technique.
You never cease to amaze me! This step by step really makes it easy to follow along and see how to build it element by element. I do a lot of doodling on the desk pad at my job…i have only done a few quilts this way, but this makes me excited to do more! You make it look so easy!
Awe Debbie! You are so sweet! Thank you for such nice words! 🙂 And you can totally do Graffiti Quilting! You’re an AMAZING quilter 🙂
Wow I love this I love to do zentangle doodling and quilting and when I seen this I fell in love I still haven’t gotten a chance to try it but I’m looking forward to my first time.i plan on purchasing your book as soon as I can !
Hi Wynter! Thank you so much for the kind words! Instead of ordering the original graffiti quilting book, you ought to pre-order my Graffiti Quilting Volume 2 book! It is scheduled to ship on black friday! 🙂
Here is the link if you’re interested:
http://www.karleeporter.com/shop/books/graffiti-quilting-a-simple-guide-to-complex-designs-volume-two-pre-order/
Thanks again!
-Karlee
I had asked before if the designs could be done in VP3 format and you answered yes.(i was so excited) I’m not a free motion quilter so, would I have to be in order to use your designs?
Your designs are so beautiful.
This is so pretty! What size needle should I use? You do a great job! Thanks
Whatever size need you normally use with whatever normal thread you use should work just fine. 🙂 there is not a right or wrong answer to your question. 🙂
-Karlee
Karlee
Wow I learn a lot just reading this and plan on using some so I can do some in my quilting. I just purchases a new long long with a quilt Bulter robotic system. Now I’m not thinking I’m totally crazy for doing this. I’ve always wanted to quilt just not sure of what direction that it’s going yet.
Thank you for the ideas and help.
P
Hi Susanne!
I am so happy that I could help you in your endeavors of learning how to quilt! 🙂 Did you know there is also an entire book written on the Graffiti Quilting technique? You can see it here:
http://www.karleeporter.com/shop/books/graffiti-quilting-a-simple-guide-to-complex-designs/
Thank you!
-Karlee
Amazing! I heard from a friend that you just met Alex Andersen. Best of luck!
This is new to me. Thank you so much, I love this type of Quilting. I have a sweet sixteen and can hardly wait to try this. I will have to look for your book.^_^
Thank you so much! I hope you love it as much as I loved creating it! Be warned though, it can get PRETTY addicting!
I know I will love it. Thanks for the reply, it meant so much. You are blessed with such talent.^_^
I love your organic designs and that you present this in such a “you can do this” attitude. I warms my heart to see a young woman like you taking off in a new direction and being willing to take others with her!
I’ve ordered your book and will be sharing the photos with my granddaughters, Abi, 18 and Juliana, 14. Both are wonderful natural artists with great imagination. Abi is starting college this Aug. Juliana will be a high school freshman. Juli is more quilting oriented but this style may just be the thing to get Abi more interested. I think she’d love to use my longarm much more than piece, like you did/do.
Keep up the wonderful work/play! BTW, what are you studying in college?
Marlette
That is so awesome to hear! I am lucky enough to get to quilt with my grandmother and nothing warms my heart more than to be able to get that quality one on one time together. 🙂
Right now I am about half way through my Bachelor’s degree, a Bachelor’s of Fine Arts with an emphasis on Graphic Design 🙂
I am so glad I could inspire you and your granddaughters.
-Karlee
Love your designs! Ordered 2 books..thank you for sharing your talent. And offering us an opportunity to create on our quilts. God Bless You. Susan Hoffmeier
Hi Susan!
Thank you soooo much for ordering books! It means so much to me! I hope you enjoy them as much as I enjoyed creating them. 😀
-Karlee
Beautiful work! You are inspiring me to try it.
Thank you! It is actually super fun! 🙂
Hi Karlee, so nice to “meet” you. Thanks soooo much for sharing your talent. This is right up my alley also.
Thanks Ellen, You are sweet to leave me a comment. I am glad you like Graffiti Quilting. I have been doing it for YEARS now, and I still am not even close to being sick of it 😛
My dear you are absolutely amazing and that is an under statement!!!! I just love all of your doodling, desgins, motifs, whatever. I am a young senior citizen and have finally felt comfortable with free motion quilting after the past 15 years, but this just blew me away and makes me want to give your style a try. Who says you can’t teach an old dog new tricks, right? I watched your very very cute youtube rap video and loved it too. I plan on getting your book and coloring books in the very short future for myself. Do you sell the rap video also? I have a group that I have meet twice a month at a hall and would love to show you off to them, I know they would love you too. I wish you the best of luck with your books and your quilting adventure. I just know we will be seeing a lot of you……Hugs to you from an old Grandmother type gal. Again, love your stuff and thank you for the tutorials and all your hard work. Claudia
Hi Claudia! Thank you so much for all the kind words. I am glad you enjoyed the rap video… its so cheesy, huh? 😀 You actually can purchase the rap video for .99 cents un the “Quilting Supplies” tab of the shop. Feel free to share the video with your friends, it is just on youtube as well. 🙂 Thank you so much for leaving me a comment, and sharing my work. You’re awesome.
-Karlee
Ahhh! Amazing! I love the freedom in this designs! Thank you for sharing so generously. This is something I will refer to again, and again.
Hi Liz! I am happy to hear that! Feel free to share this post with your quilty buddies 🙂
What a great tutorial and how generous of you to share your skill.
I absolutely love your designs and the Graffiti blocks. I’m going to try a downloaded one and my own creation. Like many other people, I have retired to quilt and I love it. I have a longarm so I can quilt my quilts the way I want to. I also do charity quilts and Aussie Hero quilts (similar to Quilts of Valor). As well as giving to others, I see this as an opportunity to improve my quilting skills. My fmq is weak but my ruler work is getting better and I just love digital designs.
Looks like a book that I need.
Hi Pamela!
Thank you so much for all the kind words! And don’t worry, your skills just get more and more beautiful with every stitch. 🙂
Great ideas! I for one would refuse to do the mindless meander on anything. Enjoy coming up with creative ways to quilt custom quilts. I am not the quilter for over the top show quilts (not that good) but do enjoy putting some thought into what I quilt for others. Thank you so much for your ideas.
Connie A
Thanks for reading, Connie! 🙂 I agree, I can’t bare just doing a stipple allover a quilt.
What size needle do you use? Do you use anything larger than 50wt. If so again what size needle? I am a newbie go longarm quilting. Getting a little bored doing traditional quilt blocks. Really like wholecloths.
I typically use a size 16 or 18 needle, and then my favorite wt of thread for graffiti quilting, and most quilting in general is 40wt. I love the OMNI line as well as the Magnifico line from Superior Threads. 🙂
That is amazing. I am not much of a planner and have pretty much stuck to meandering/stippling because i don’t have to plan. I need to practice some of these elements so i can free form them also. Thanks!
Thanks so much for reading 🙂
Thank you for this excellent tutorial. I can’t wait to try some Graffiti quilting on my Sweet 16.
You are so welcome! I am glad you enjoyed it! 🙂
Just love your style and tutorial. I do have an HQ16 stand up and I’ve never quite got past the meandering stages. You give me the inspiration to try more.
I’m so happy I could inspire you! 🙂
Wow absolutely brilliant and so inspiring!
Thank you! 🙂
I just love the “Symphony” quilt. I am a musician and as such am drawn to music themed fabrics and quilts.
I am also a beginner quilter. I have only finished two quilts. The first one was tied. The second one was completely done by hand–both the sewing and the quilting.’
Thank you for this tutorial. I will be doing a lot of practicing on paper before ever attempting this, but this seems a little less daunting than FMQ as you said there really aren’t any rules.
Thank you for the kind words Susan! Don’t give up and just remember that we all get better with each quilt we complete. 🙂
Super shapes, new look, love it
Awesome. I have been wanting to do something totally different for a while. I am inspired
You have an amazing imagination and gift for this craft. Just saw a pic of your Symphony quilt and it is stunning. Love this tutorial, but haven’t quilted in many years and only hand quilted then with simple designs. Would love to try again.
Hi Edith! I am happy to give you the little boost of encouragement you might need. 🙂 my hat goes off to you as a hand quilter. I do not have the patience. My grandmother made me a BEAUTIFUL wedding quilt that was hand quilted and I cherish it SOOOO MUCH! Hand quilting is the true labor of love.
Fun! I cant wait to get into my studeo and practice. I am nowhere near your creative skill, but like you said…Its mine and its not wrong. Thank you for sharing your skill with us. LOOKS LIKE HOURS OF FUN and the double batting is so genius.
Hours of fun is right!!! 🙂 and yes, double batting is always a good idea… especially if you are usually cold like I am. hahaha…
Simply awesome!!!!!
I saw a picture of a graffiti quilt in Facebook and some of the areas had been colored in. How would you go about doing this? Fabric markers? Or due. If you use due how would you keep it from bleeding into the spaces you want to keep white?
Thanks for an awesome tutorial. I have put your book on my Christmas list.
Hi Shannon!
Good question… I get asked that a lot. I don’t do a ton of coloring in on my quilts, but really there are a range of mediums you can use. There is: acrylic paint (this will give you very nice crisp lines, but the quilt will be crusty, so this is more ideal for wallhanging quilts that don’t have to be snuggly) or you can use sharpie (which will allow the fabric to stay nice and soft, but can fade over time) if you use a dye, it will act like water and bleed like crazy (which can be a good or bad thing). Hopefully this helps!
I’ve been fascinated with doodles and zentangles ever since I joined Pinterest a few years ago. Haven’t done much drawing of them though. But I am also a watercolor artist and an art quilter and can’t wait to try your method! It looks like you use fabric paint to fill in spaces on your graffiti quilts. Do you use Setacolor opaque? I’ve done some fabric painting with liquid acrylic ink, however it really soaks in, even straight from the bottle. I have played some with thread painting but usually get hung up with big empty spaces between my favorite free motion quilting patterns. It does help to stick to my most comfortable patterns.
Can this be done by hand; no machine? If so, would I use a hoop or put on quilt frame or just use a lot of pins to keep layers from shifting & stay tight?
I saw picture on FB and liked it & thought that would make a nice wintertime project.
Hi Micki!
Great question! Yes, it can be done by hand, and you would treat the fabric for basting the same way you’d treat any other hand quilting project. You would simply draw on your fabric with a water-soluble marker, and then go to town with the hand quilting! 🙂
-Karlee
Okay, keeping in mind that I haven’t even attempted free-motion machine quilting yet (sticking to straight lines on my domestic, thank you verymuch), I have what will probably seem like a stupid question for you. So far in everything I’ve read/studied about free motion machine quilting, the “rule” that carries across every resource is that “you don’t cross over your previous stitching, and you don’t stop and start”…so it’s supposed to be one continuous line that never meets itself. THEREFORE, I haven’t tried it yet because it seems pretty daunting to plan out how I’m going to quilt an entire quilt following those rules. Here’s the question: Am I correct to understand that grafitti quilting completely ignores those rules? I know that the finished product LOOKS cohesive, but in watching your process, it seems very willy-nilly, and it only really comes together when it comes together. I am in love, and I feel I must try…but I am not an artist! Guess I better get to practicing!!! I’m going to get some tissue paper and start copying your basic ideas and branch out from there! Thanks for this little crash course! I am one step closer to attempting something new. lol.
Hi Amy!
That is a wonderful question, and YES!!! Graffiti Quilting does completely ignore those rules. It more ignores the rule about not crossing over the same line twice. When you disregard that rule, then you can make everything a continuous line because you just back track over previous line in order to travel around the quilt instead of having to cut your thread and just around. I hope this helps!! 🙂