I have been into hand-lettering for a long time and I am embarrassed to admit how long it took me to realize that combining hand-lettering and quilting is basically the best idea ever!
This might sound crazy or whatever, but ever since I started participating in the quilting/sewing/crafting industry, every 18 months or so I have this existential crisis about my identity as a creative/career/all around human being.
I have always been into art, and from a young age (starting in about 2nd grade) I already knew in my head that I would do something artsy as a career path. I would watch friends train to be CNA’s while I would pass out at the sight of blood. I would watch other kids talk about becoming an engineer, meanwhile I was taking Algebra 2 for the third straight year. Not because I was stupid but because I just didn’t want to move on to Trigonometry.
Flash forward to 10 years after my high school graduation, and I am fully entrenched in my artistic endeavors and really, really loving it. But I do have to admit that sometimes being a creative really takes a toll on me. Not that it’s hard, but sometimes I just feel like I am not doing enoughin this world.
Like, sometimes I will talk to my dear friend who is a nurse and she will tell me these crazy stories about how she literally watched people almost die, and then were cared for and nursed back to health. And I’m just over here like:
“Oh, well, I like, made this cool design, and now it’s a quilt. But not like a snuggly quilt but like a quilt you only touch with white gloves and look at and its pretty.” Haha… Sometimes I feel like it isn’t the most impactful thing in the world.
I mean, I need to clarify that these thoughts are undoubtedly not coming from a good place- mostly from my own insecurities along with what “the world” tells me I need to be. (prettier, richer, smarter, be able to work 18 hour days while also volunteering and performing philanthropy on a regular basis.)
Some days, especially now that I am the mother of a toddler, it’s all I can do to keep the spinning plates that I already have going, going!
But in reality, we all know that that isn’t true- that I am not doing enough. Because in reality, I AM! I am enough. You are enough. We are enough, gosh darnit! And in this world we all have our own parts to play. Sometimes those parts may seem insignificant. Maybe the things that we DO are sometimes insignificant. But WHO WE ARE is most certainly not. There are world-renowned healthcare professionals out there literally saving lives. But there are also countless unsung heroes that may be saving lives too…
Sometimes it isn’t about resuscitating someones breathing, but perhaps helping someone to feel like they can breathe again. We can all do small acts out of such great love. It’s a single person just waving to their introverted neighbor. It might be a simple text to someone saying “are you ok?”. It could be taking the time to simply drop a post-it note on a co-workers desk. There are SO MANY WAYS that we can support, lift up and love each other. It doesn’t always have to be a monumental gesture.
This month, I REALLY wanted to focus on this and ponder ways that I could show love and spread joy, in my TINY little corner of the world. And I wanted to provide a practical way that you could too.
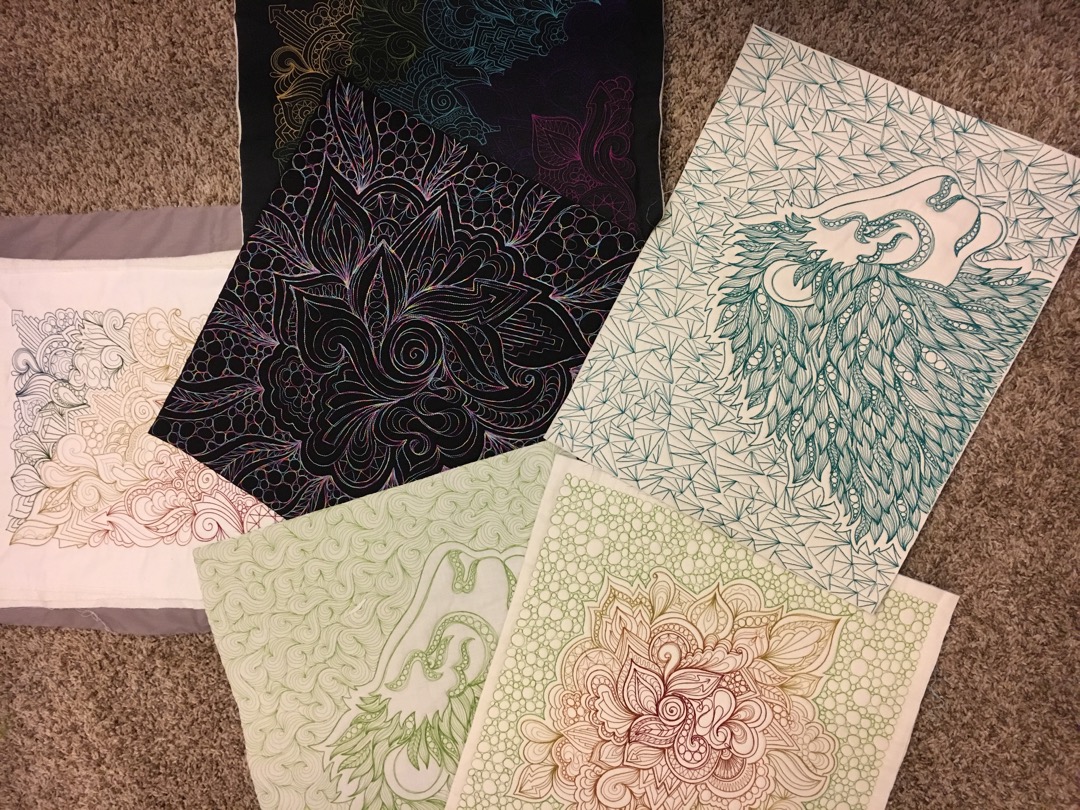
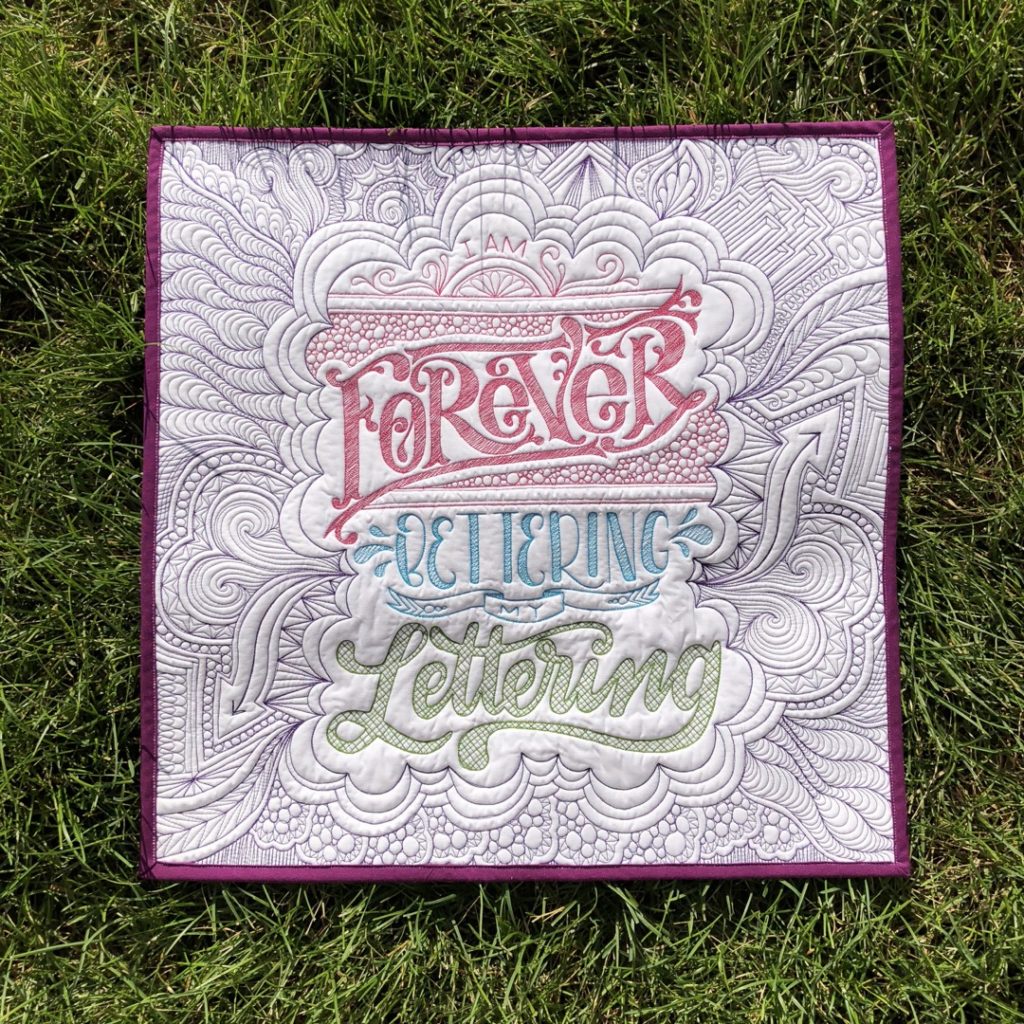
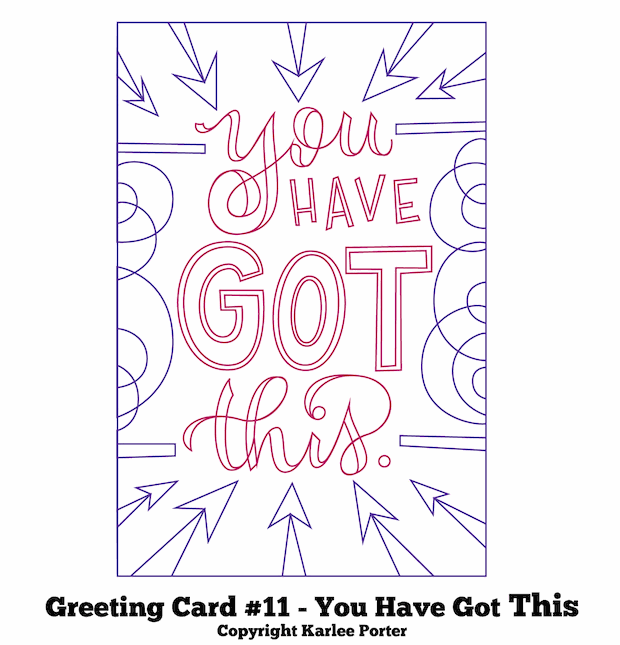
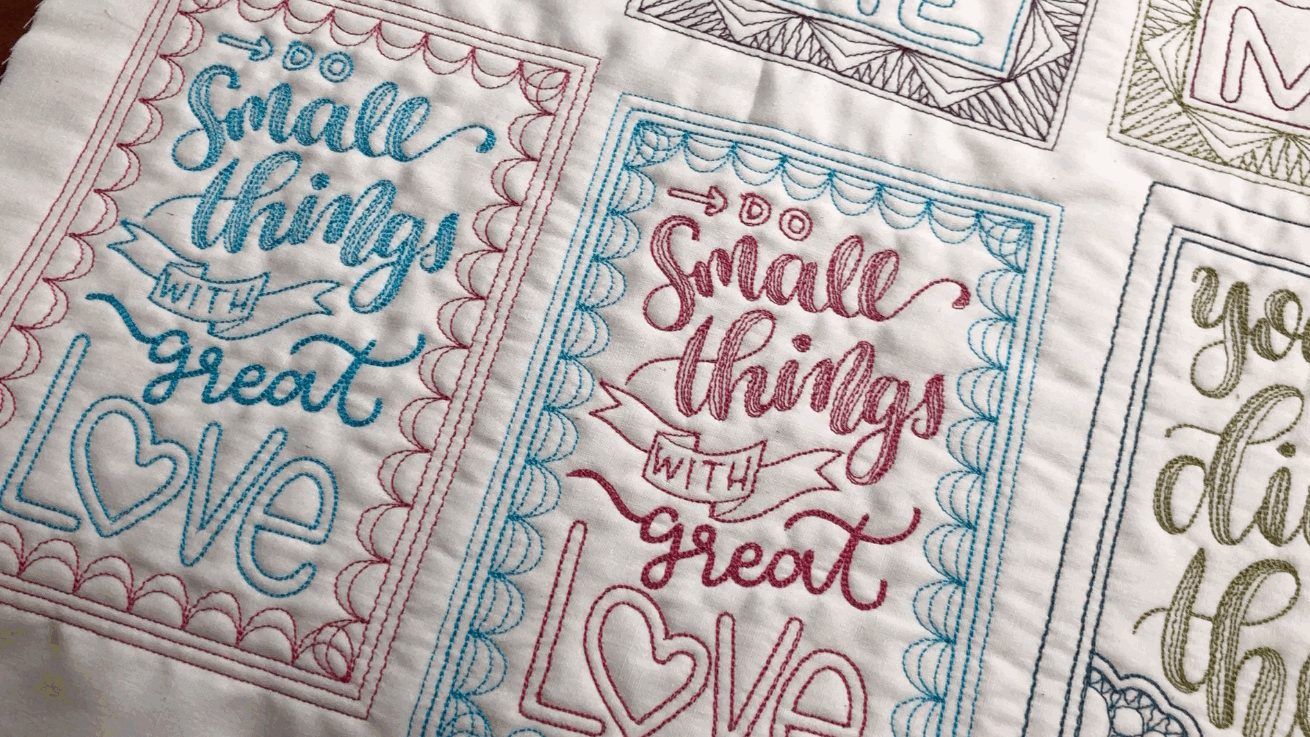
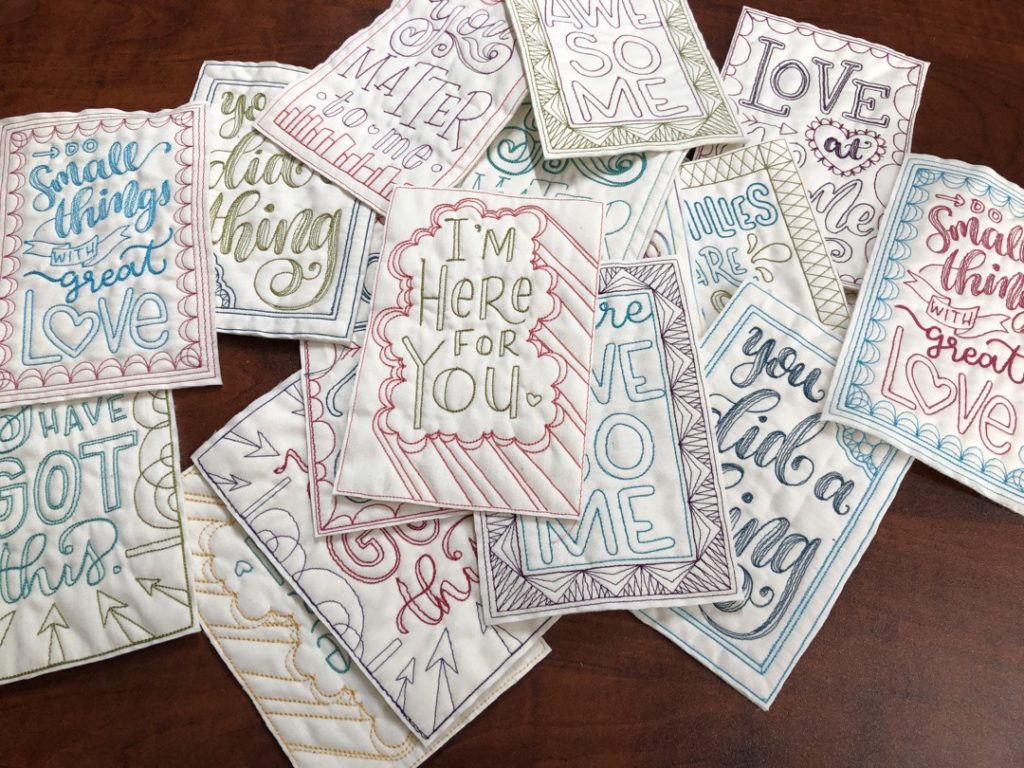
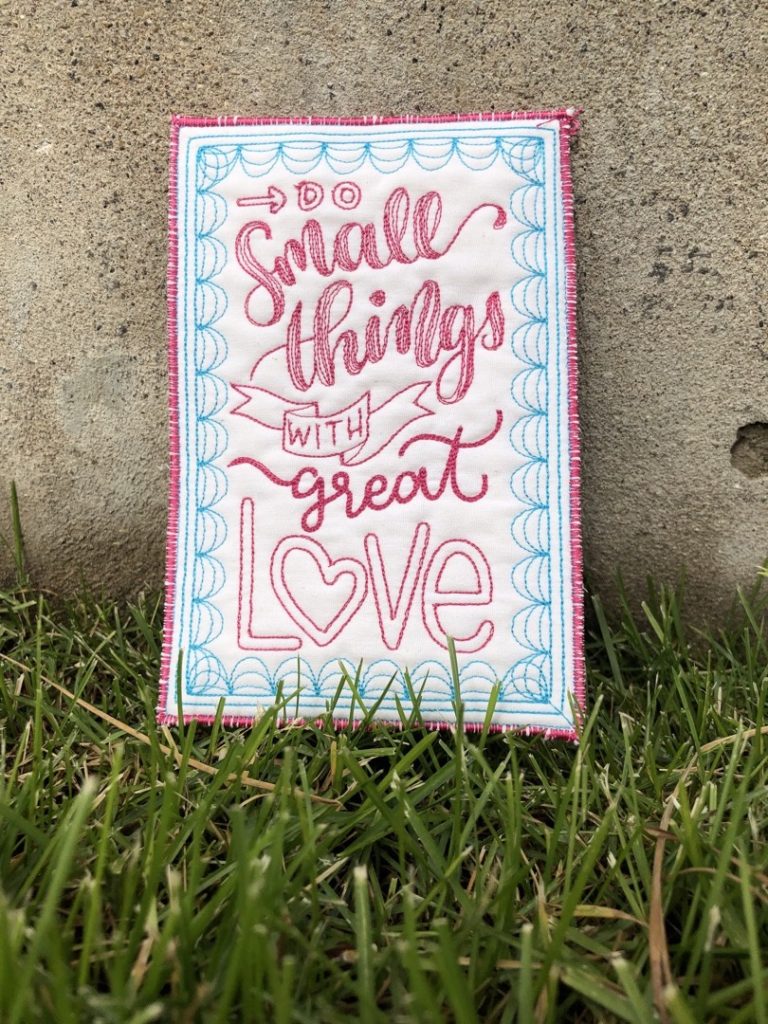
So, for this month’s design release, I wanted to focus on making some super cute greeting cards that are simple to stitch out and assemble, where we can all spread a little more love in the world. Check em’ out:
These post cards have been so fun to create! The first 10 were made in early 2018 and as I used them throughout the last year, as much as I love them, I found that it was sometimes tricky to find square envelopes for them. Lol. So, this next set of post cards are 4×6 opposed to 4×4. The 4×4 post cards are still great, I just had to hand make my own envelopes to go with them.
More importantly, I felt really impressed to make these designs because I really feel like we could use a little more joy in our world. I wanted to create designs that when given in quilted form to someone would not only be thoughtful, but something handmade that they could cherish. (So many greeting cards just get discarded after being hung on the fridge for a few months, amirite?)
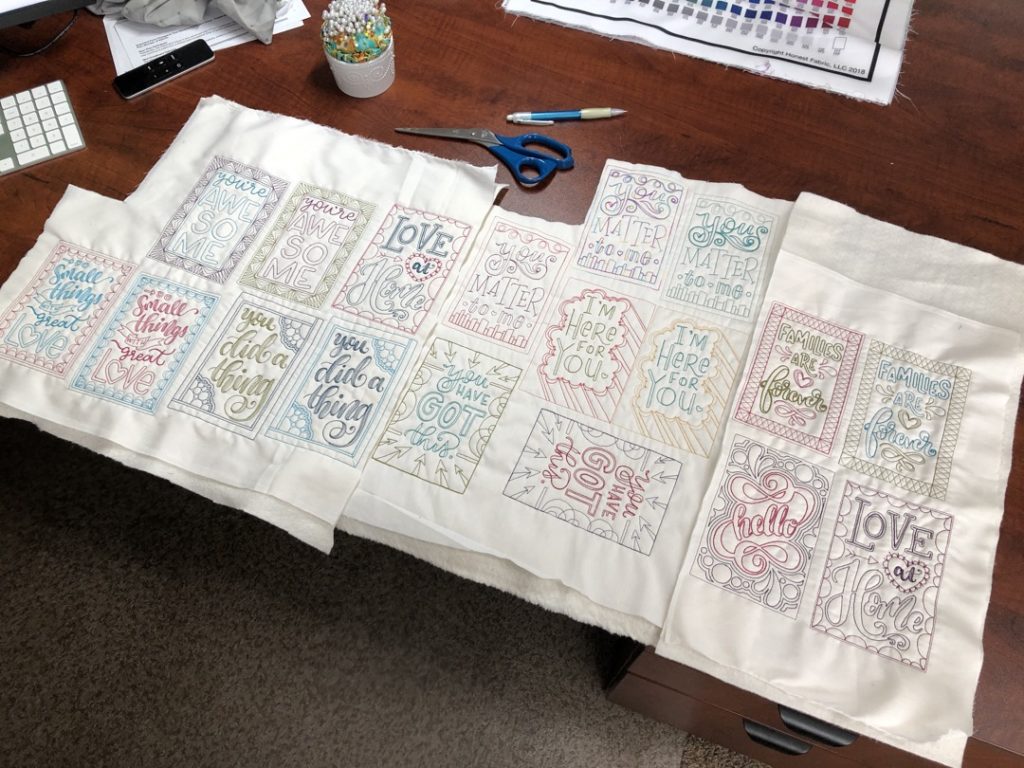
So, I wanted to show you the process for making your own super cute quilted post cards using the digital designs I have created…
First things first- download the design. Duh. (Hint: if you purchase the designs in collections, they are a better deal than if you bought each design individually. This new collection of 10 greeting cards is 50% off!) Then grab the filetype from the zipped folder that is specific to your machine. Every single greeting card design I offer comes not only with every quilting format you might need, but all machine embroidery formats as well.
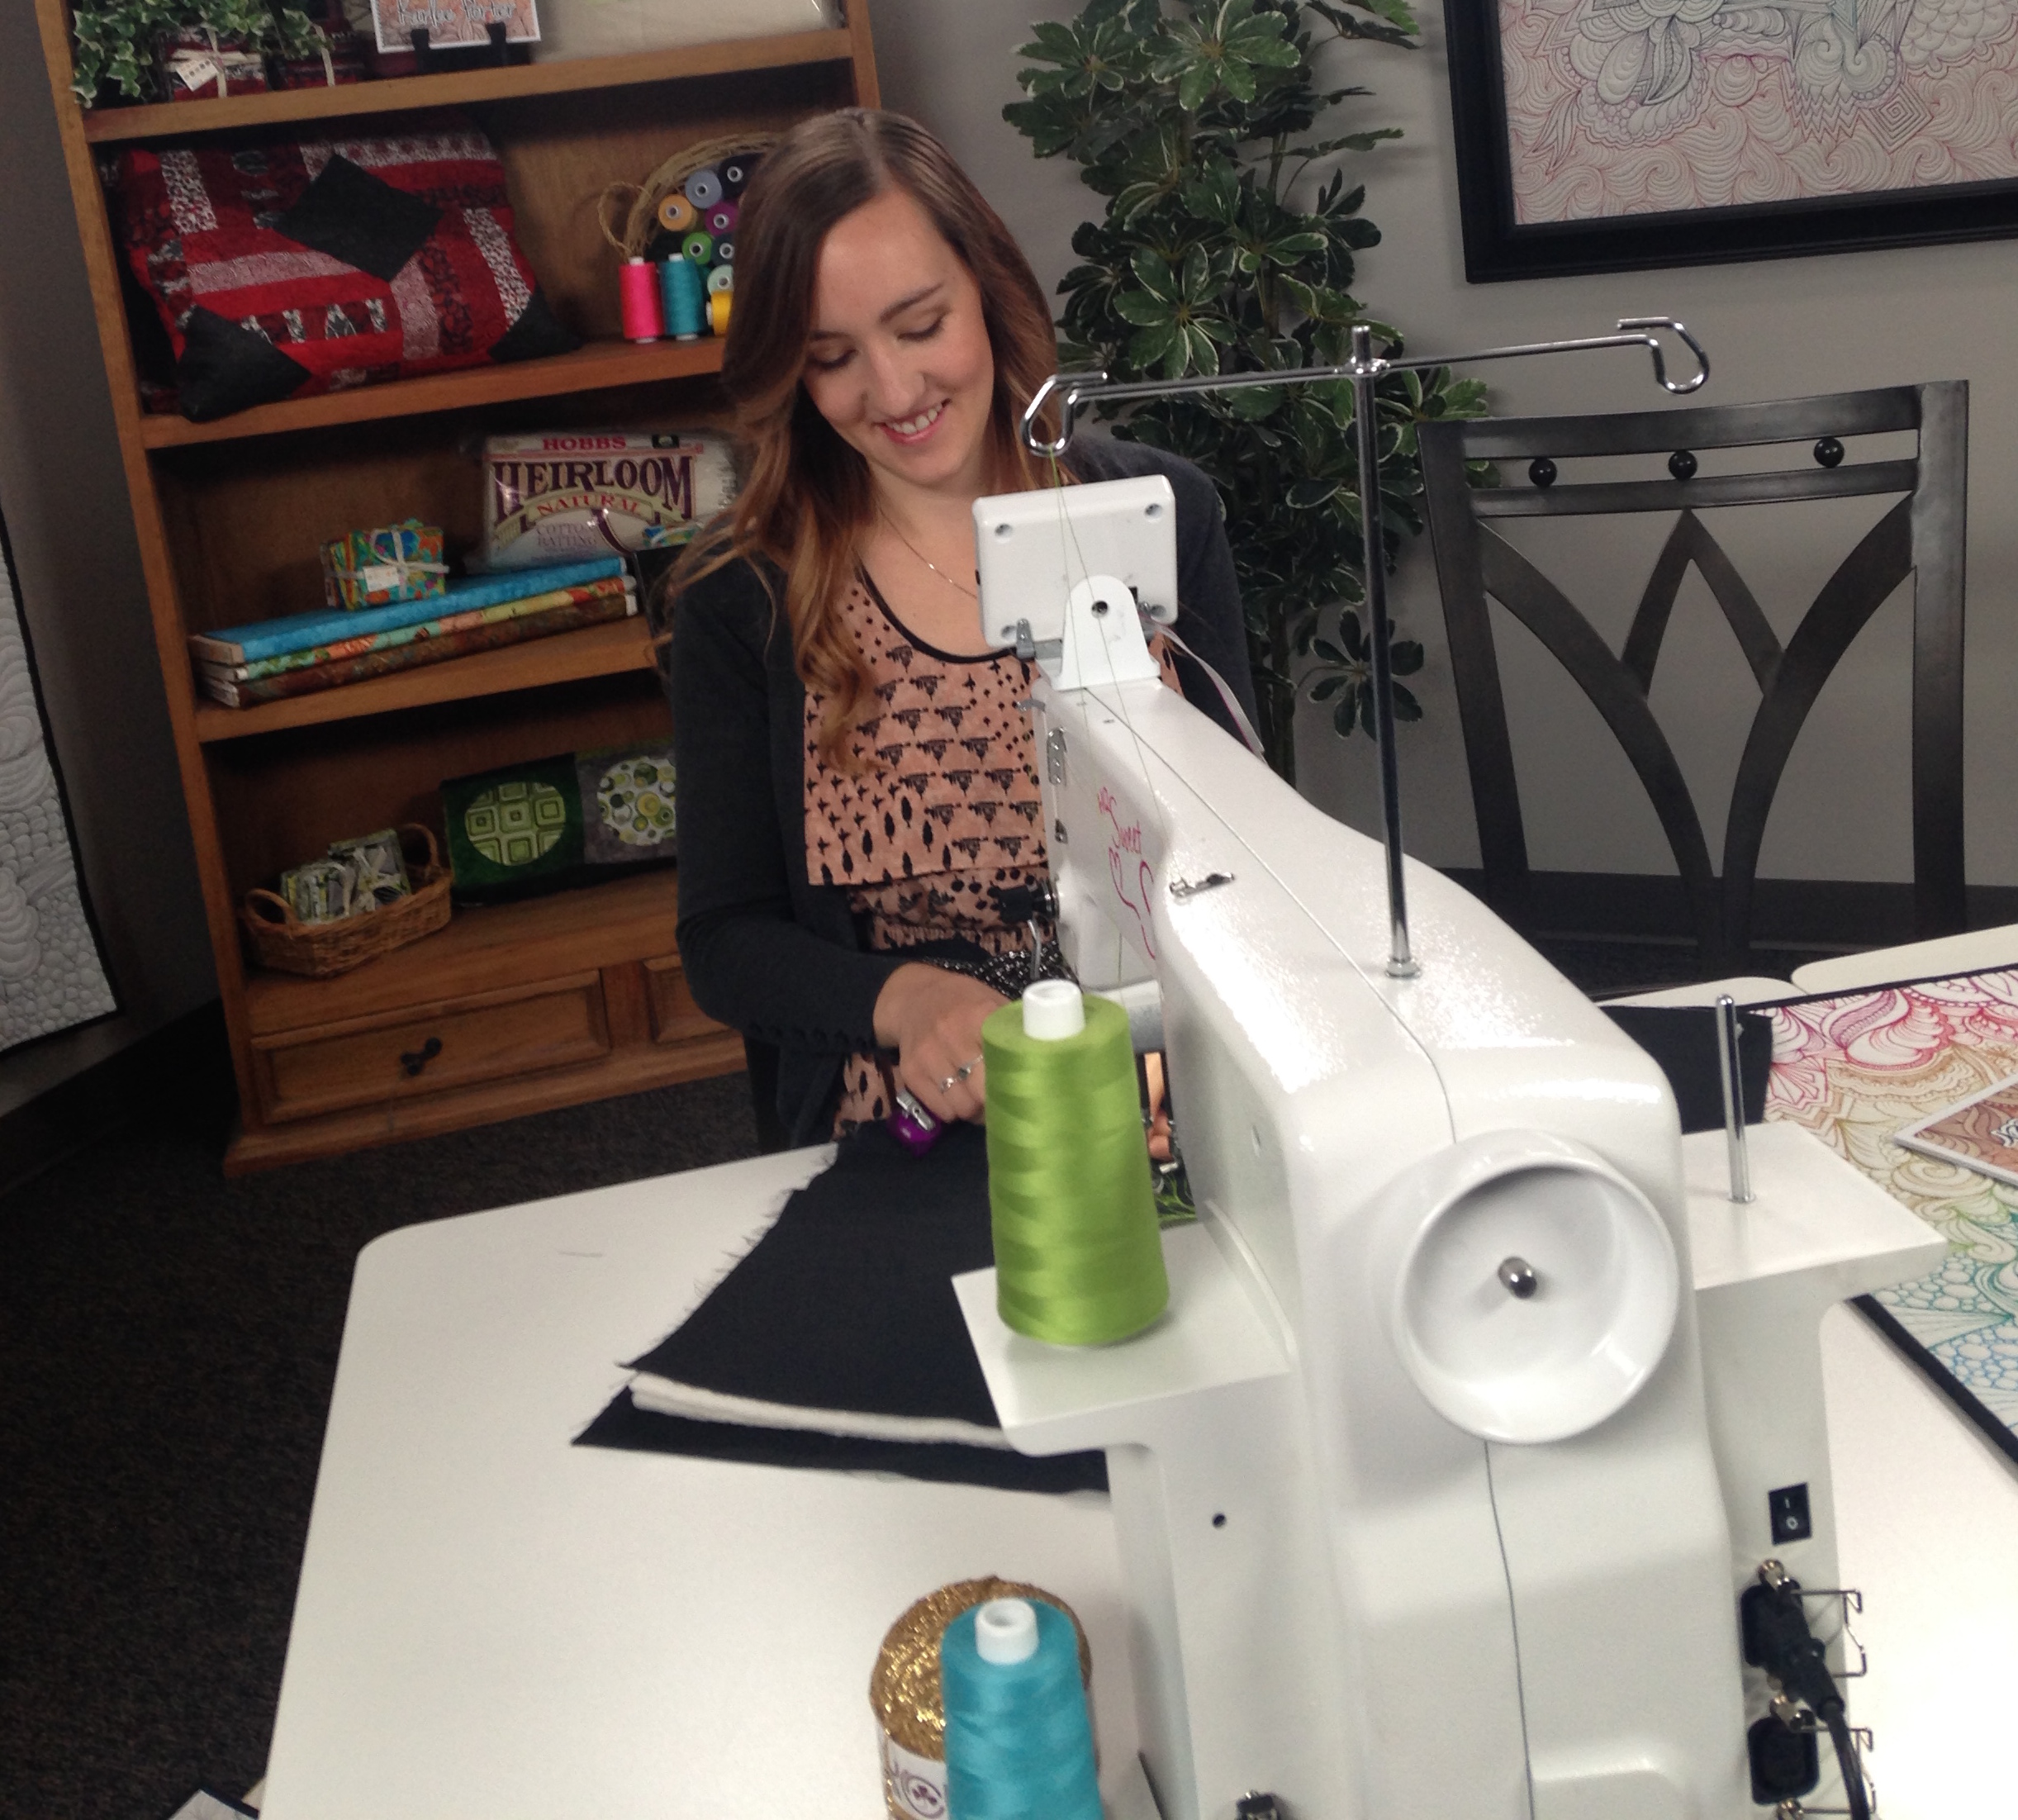
Next, pick your thread colors. My personal favorite thread to use is Sulky’s 40 wt. Rayon. It is moderately thick, giving a really nice stitch. It also has such a pretty, glossy look to it that really just makes the lettering pop.
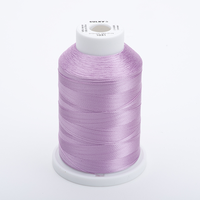
In the bobbin, I actually just use Sulky’s monofilament Invisible Thread. It lasts FOREVER! Like I can literally stitch out 6-8 post cards before I have to refill my bobbin. I also like the fact that as I change colors, I don’t have to worry about the bobbin color influencing the top thread color at all. Also, when I go to add the backing fabric to the post card, I don’t have to worry about any dark colored threads showing through. #comforting
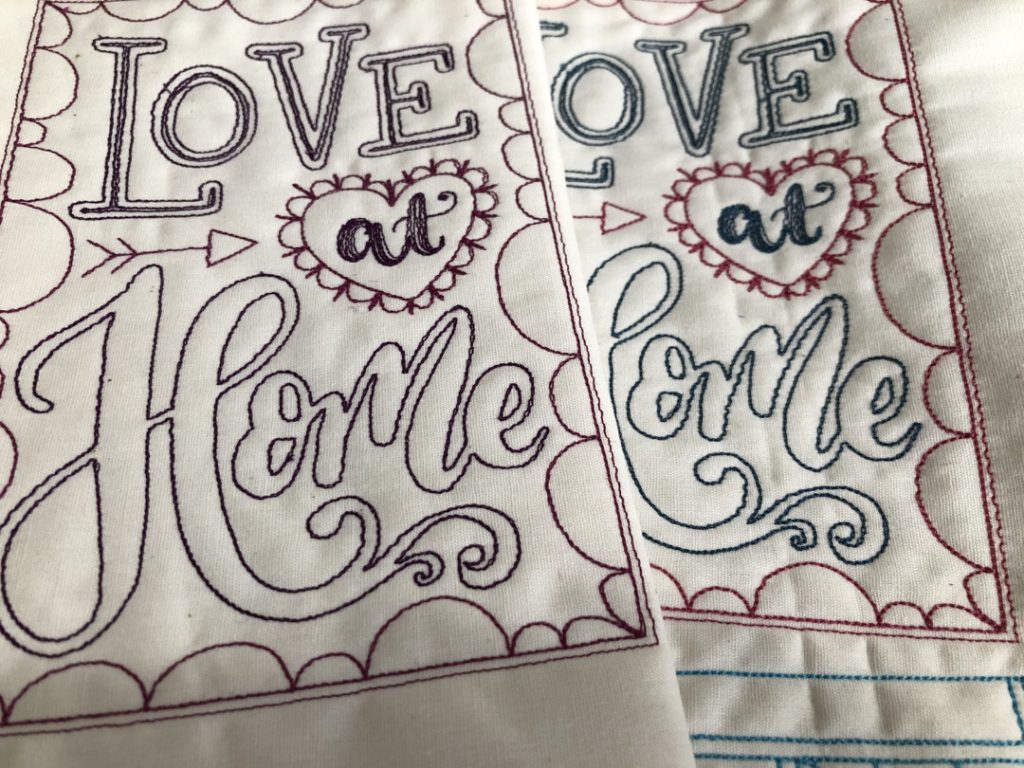
The needle I decided to use is a pretty narrow one. It is a Schmetz Universal Needle 70/10. If you’re stitching these designs out on a longarm quilting machine, I would recommend a 90/14 needle. As I was testing these designs, I noticed that sometimes I was getting a wiggly line when it should look like a nice crisp straight stitch, and I think this issue was a combination of things: I was using a much bigger (and older) needle, AND my machine has not been serviced in WAY TOO LONG. Yep, I’m admitting it. I need to be more kind do my little domestic embroidery machine. I am going on vacay for 3 weeks so I am just going to drop off my machine at the shop so it’ll be done when I get back. I’m adulting.
Here is a pic of a design test with the larger needle (on the right), and then re-stitched in with a smaller, new needle (on the left).
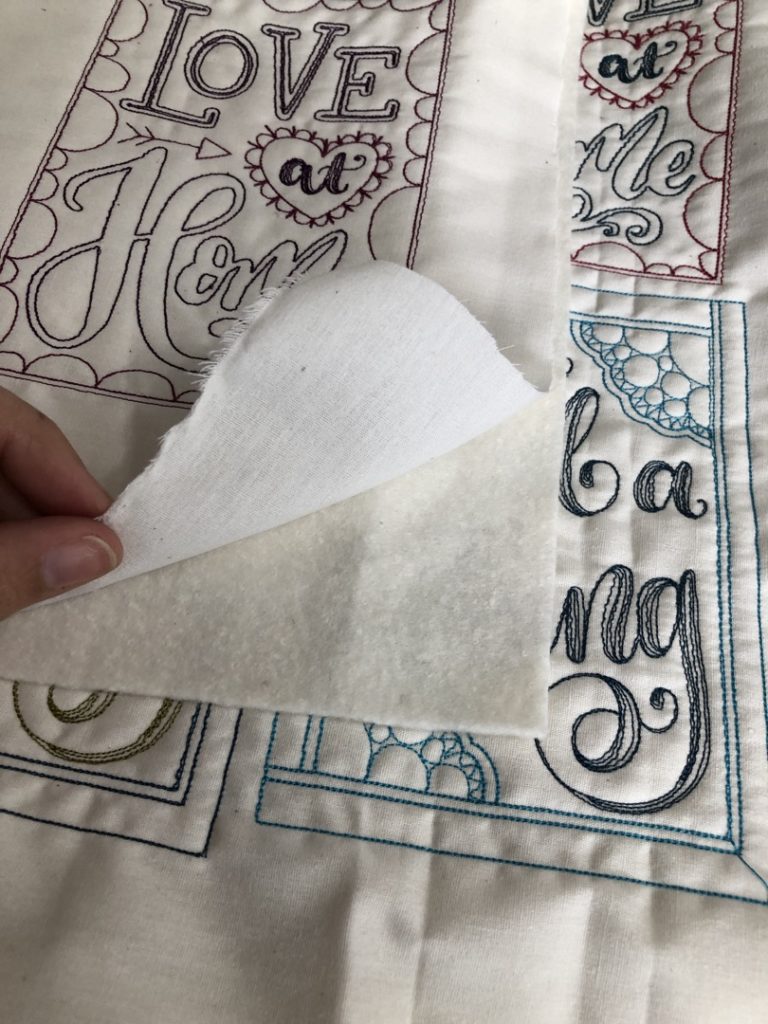
Finally, instead of using machine embroidery stabilizer, I actually really like to just use Warm Company Warm & Natural batting. I like the finished post card to be just a little lofty, and this batting does the trick perfectly. No stabilizer needed (but if you’re paranoid and it will make you feel better to add it, put it between the fabric and batting, and sleep better at night. That’s totally cool too.)
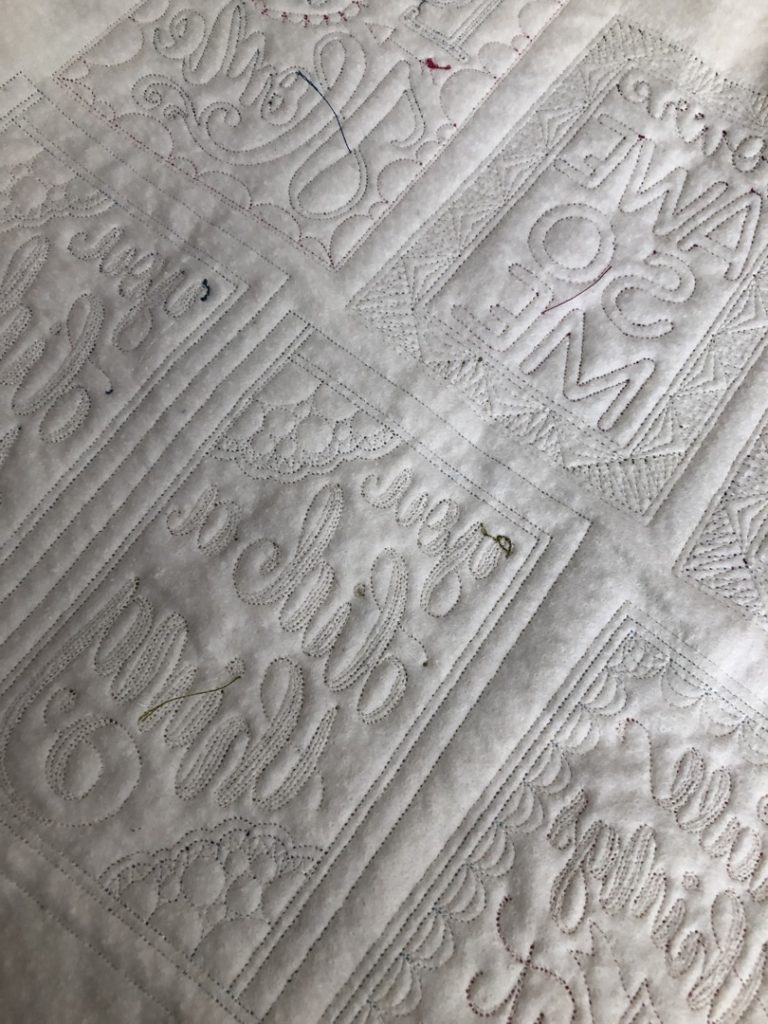
Also, with these post cards, I typically like to make a huge stack all in one day and then just have them on hand when I need them. If you want to make a bunch at once, instead of cutting out fabric for each individual card, just stitch out a bunch of them all on one piece of fabric. That way, you can stitch them fairly close together and conserve some of your supplies.
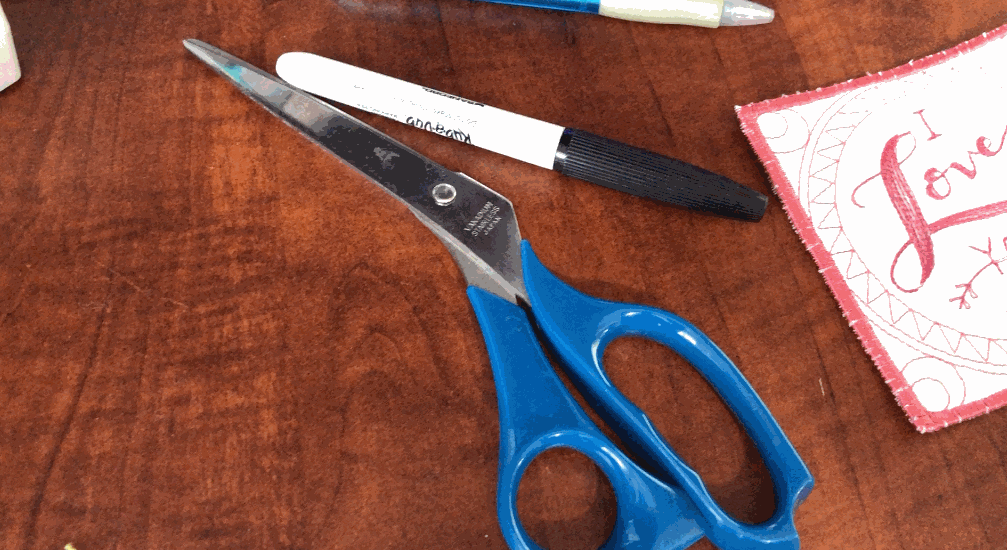
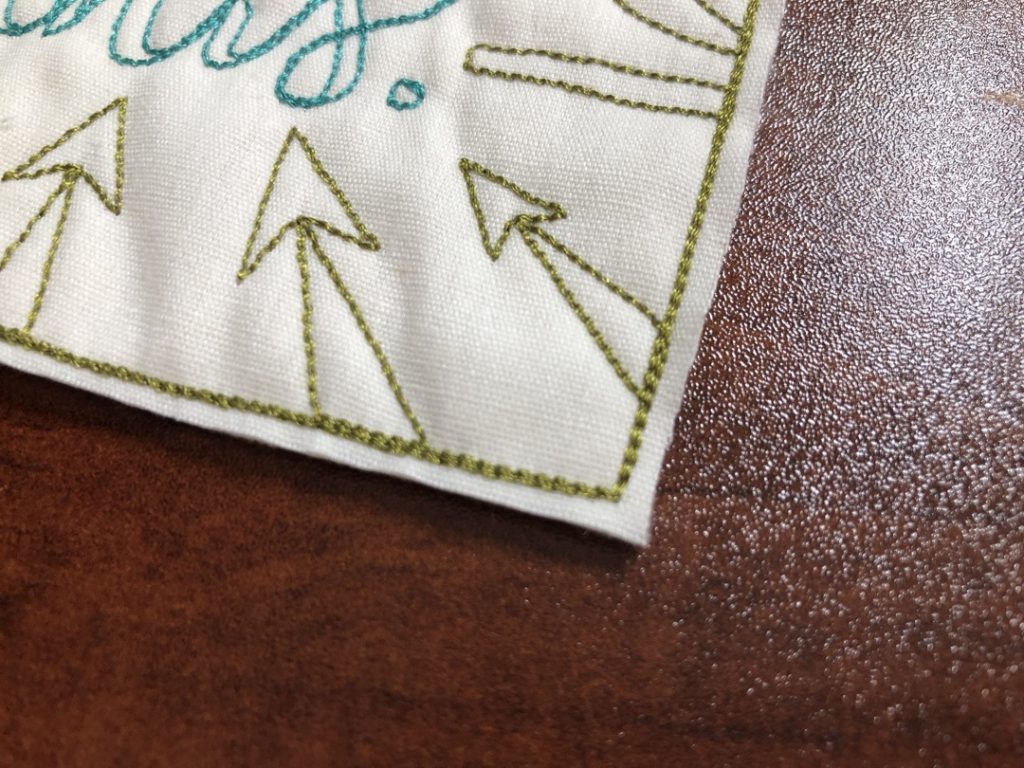
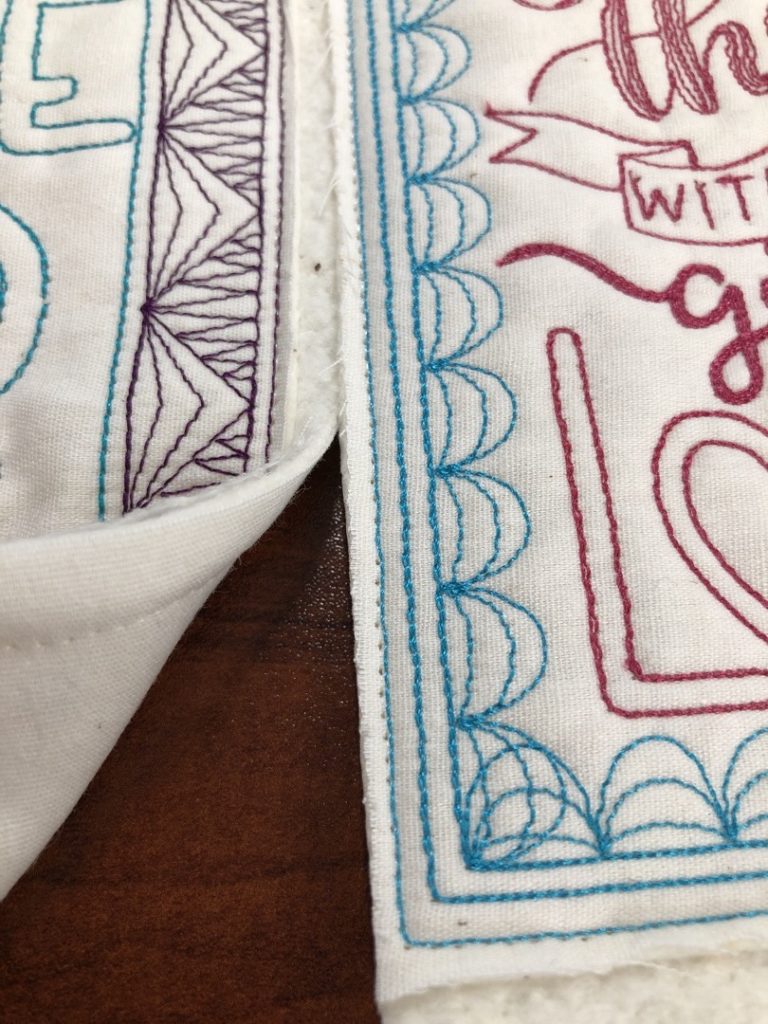
After I finished stitching out the designs, I cut each one out, just outside the main perimeter line. I leave about 1/8′ of an inch around the outer stitch line.
Next, I used white fabric for the back of the post card. You can obviously stitch out the design on whatever color you like, but I always back the post card with a light colored fabric. When I give the card away, I write my note to the recipient on the back with a Sharpie, so having a light colored fabric that the Sharpie will show up on is obviously helpful. This is where you’ll want to add an extra layer of batting to fully cover the back stitching, and add a nice stiffness along with some cute loft. This will really help accentuate the fact that it’s quilted fabric. It looks SOOO cute when you take the glass out of a 4×6 frame and put one of these in it. So good.
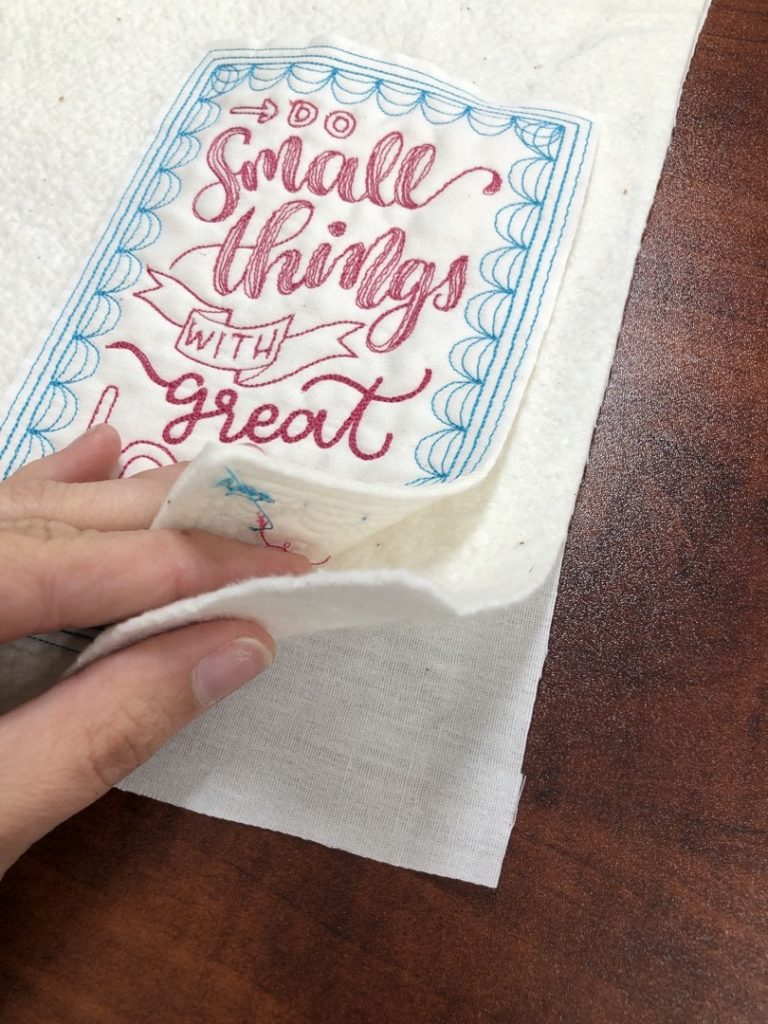
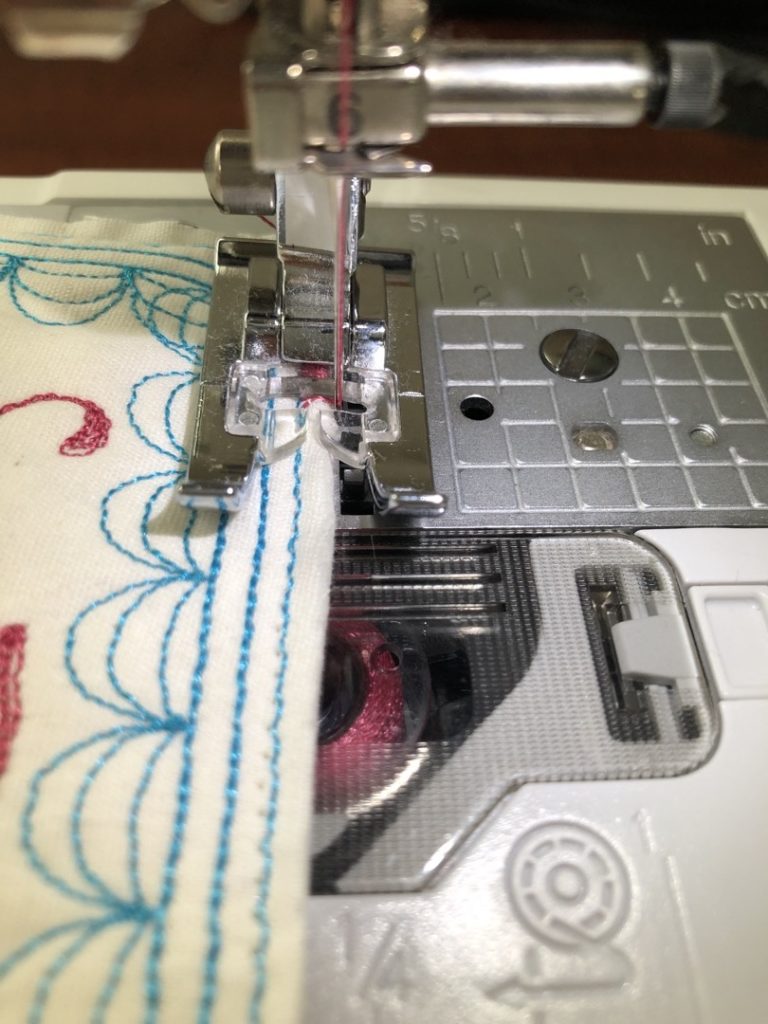
Stitch over all 4 layers (top fabric, batting, second un-quilted layer of batting, light colored backing fabric) with monofilament thread, using the outer stitched edge of the design as your guide.
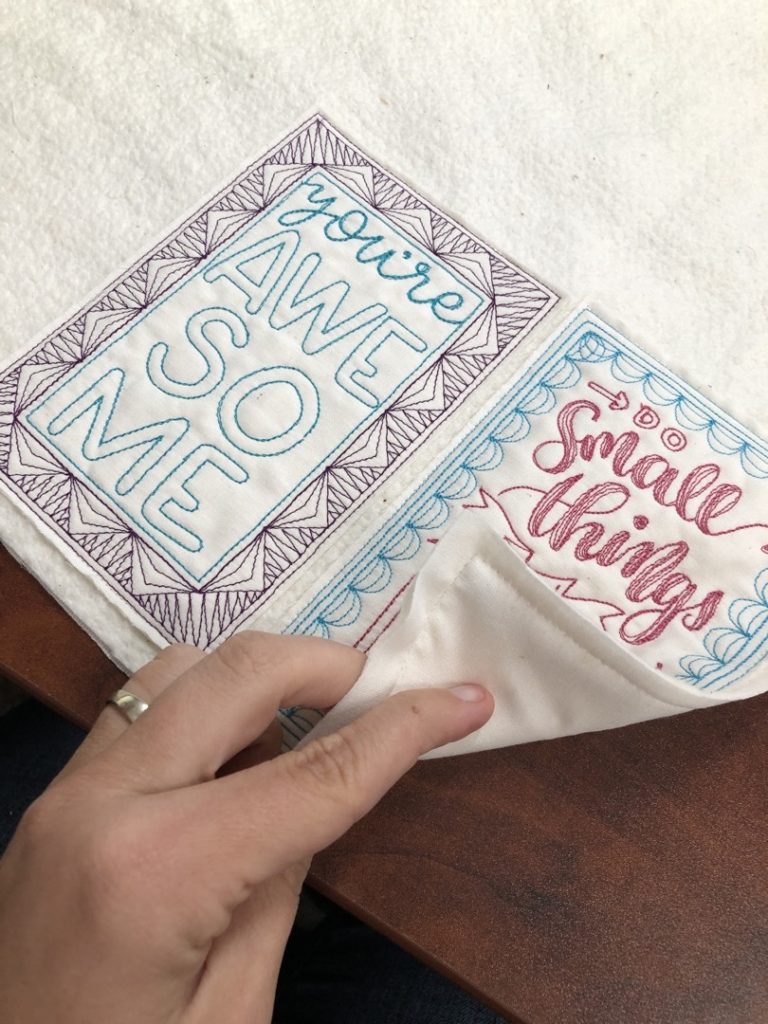
Cut it out again, just outside the perimeter. Again, I typically leave about 1/8″ of an inch.
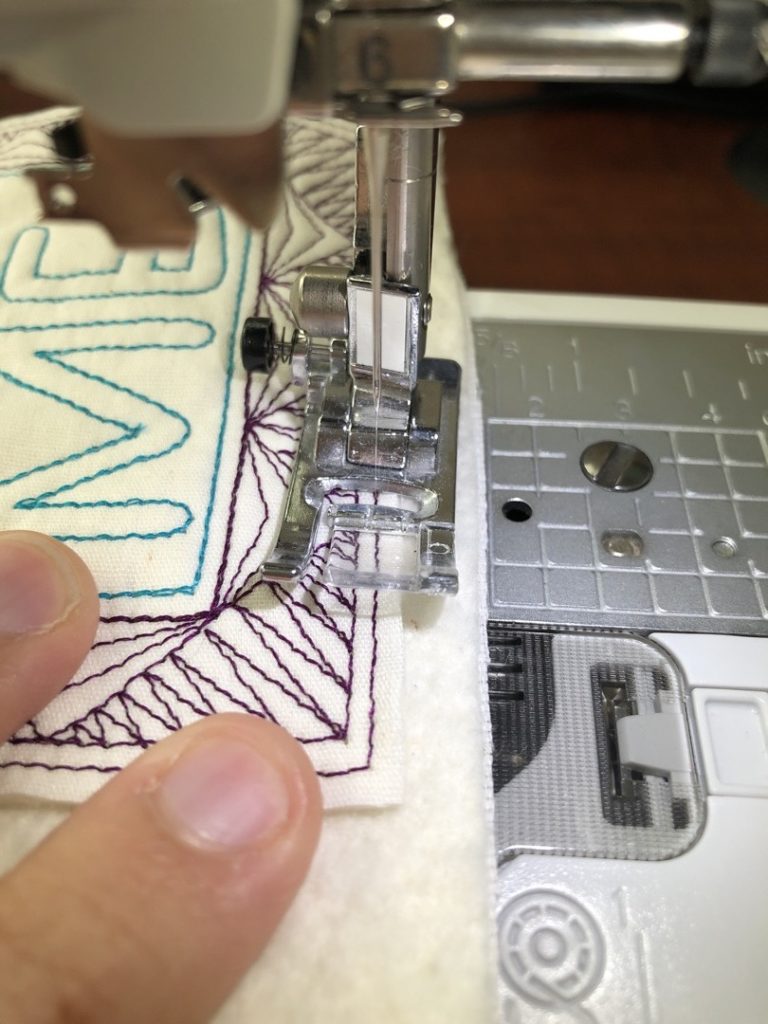
Finally, it’s time to finish the edges. This is where I am more particular with my bobbin color. I want the edge to look really nice and so I will typically choose a color that might match a few of my post cards and fill a bobbin with that color and bind a few with it. For this Pink and Blue postcard, I chose to do a pink edge.
For the edges, I just do a satin stitch (a tight zig-zag stitch), and you can take liberties with what width you want for your edges. I typically do something like 3.5mm for the width and 0.5mm for the length. But like I said, you can do a more narrow or wider satin stitch. The most important thing is to make sure your bobbin thread matches your top thread because it WILL show on the back of the card.
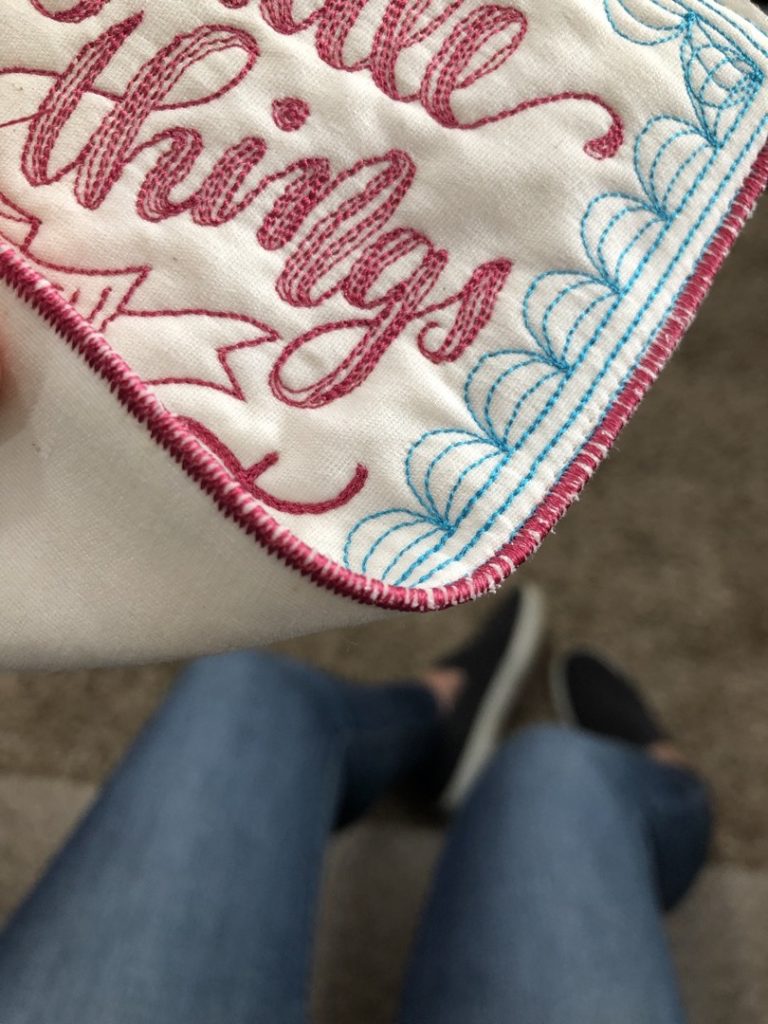
When you’re stitching, you’ll want the needle to go off the edge on the right side. This is what covers your edges so they won’t fray later.
And there you have it! Tons of super cute quilted postcards to share with the world!
Spread that love ya’ll! Throw it around like glitter- so much that no amount of lint roller tape could clean it up! Spread it so much that people will find your shared joy in nooks and crannies for years to come!!! Haha, sorry, that got a little weird huh…
I just love spreading joy and making sure people know that they are loved, appreciated, and thought of.
Be great to each other!
-Karlee